Quick answer
Typical window: published end-of-line cobot palletizing often 8–14 cases/min (~480–840/hour); sustained 15+ cases/min → compare industrial arms or layer palletizers first
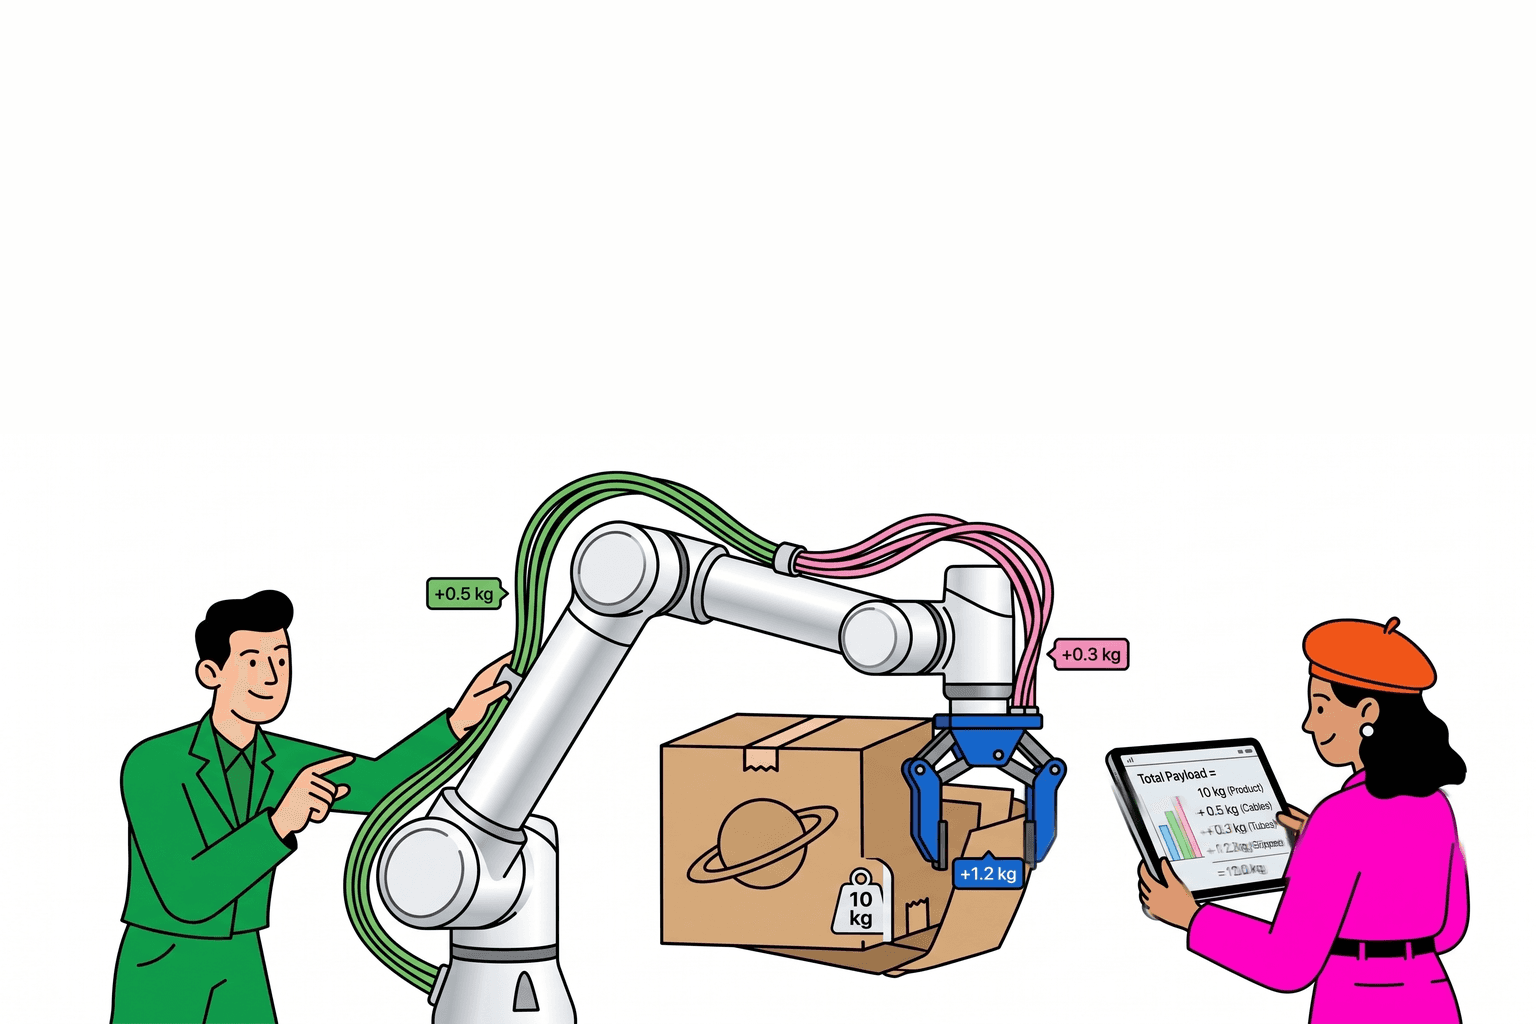
Payload: vacuum tooling commonly 3–8 kg—subtract from rated load; size worst-case TCP as heaviest case + tool at full-stack far corner
When cobots fit: multi-SKU, tight footprint, cases roughly 20–25 kg after tooling → cobot; single-SKU beverage takt → industrial/layer
Investment band: cells often ~$50k–$120k, payback 10–18 months—verify on your cases/hour and injury/turnover ledger
Pilot pass/fail: trial at target layer count, takt includes pallet swap/break vacuum, infeed stop tolerance in contract—not “demo pick sticks” alone
Last two hours of the shift, the same SKU is still stacking at end of line. Backs start cheating the lift; the interlocking pattern taught in the morning becomes corner gaps by feel—logistics pulls pallets at dawn, and reject or restack cost never lands on the “palletizing labor” line. Cobot palletizing is not about whether the demo cup sticks. It is whether people or the stack fails first in the back half of the shift.
Cobot palletizing (end-of-line palletizing) uses a collaborative arm to pick finished cartons (bags and totes count too) from a conveyor, roller line, or staging nest and place them on a pallet by a programmed layer pattern. When a pallet is full in height and layers, the cell swaps in an empty pallet and starts the next stack. A typical unit has four blocks: arm, end effector (most often vacuum), pattern/path software, and pallet in/out. Industrial palletizer cells usually sit behind fencing; a cobot cell, after force limiting and risk assessment, can sit closer to people and use less floor space—but the carton is still moving mass and is not “zero risk.”
Why end-of-line palletizing is automated early
End of line is almost always “a person stacks cartons onto a pallet”: the same motion hundreds of times per shift, with cases commonly 10–25 kg. Published guides put injury rates for this work at 2–3× the manufacturing average, with single back-related claims often framed around $35,000–$75,000; in EU framing, one back claim plus lost production and temp cover commonly exceeds €15,000 (see Robotomated palletizing guide, EasyRobotics complete guide). Staffing is worse: dedicated palletizer turnover at many plants runs above 150%/year—not “hard to hire sometimes,” but every shift is backfilling the role.
Automation is not about “can a machine pick up a box.” It is three problems stacked: ergonomic and injury exposure, late-shift fatigue losses, and stack consistency. Humans often drop 15–25% output in the last two hours of a shift; a cobot’s rate does not sag with fatigue. If logistics rejects unstable stacks or forces a re-stack, that cost rarely shows on the “palletizing labor” line—collect those scattered costs on one sheet when you build the business case.
Manual vs cobot (industry comparison bands)
| Metric | Manual | Cobot palletizing (as published) |
|---|---|---|
| Late-shift output | Last two hours can drop 15–25% | Rate does not sag with fatigue |
| Speed window | Depends on crew and shift | Often 8–14 cases/min (~480–840 cases/hour); many single lines fit under about 800 cases/hour |
| Changeover | Tribal layer knowledge | Often 5–15 minutes to change pattern recipe |
| Cell footprint | Human walking space | ~3–6 m²; industrial arm cells often ~15–30 m² |
| Payback | Ongoing labor + injury/turnover | Often 10–18 months (some customer framing ~8–10 months)—verify on your labor and injury ledger |
When you read the table, do not fixate on cases/min alone. If sustained line speed sits above about 15 cases/min, cobots often struggle—compare directly to traditional palletizer arms (often 20–35 cases/min) or layer palletizers. Cobot guides also cite ~8–15 picks/min—same order of magnitude. The question is whether your line lives inside that window long term.
Cobot vs industrial palletizer / layer palletizer
| Metric | Cobot | Industrial palletizer arm | Layer palletizer |
|---|---|---|---|
| Speed | 8–14 cases/min | 20–35 cases/min | 15–40 cases/min |
| Cases/hour | 480–840 | 1,200–2,100 | 900–2,400 |
| Case weight (approx.) | 20–25 kg (after tool deduction) | 50–80 kg | 50–100 kg |
| Changeover | 5–15 min | 15–60 min | 30–120 min |
| Cell cost | ~$50k–$120k | ~$150k–$400k | ~$200k–$600k |
How to choose: many SKUs, tight footprint, case weight inside the cobot window after tooling, line rate under about 800 cases/hour → take cobot seriously. Single SKU, beverage-class takt, case weight routinely above ~25 kg → industrial arm or layer palletizer is the honest answer. In the gray zone, use one week of measured cases/hour + heaviest case + full stack height as gates—do not reverse-engineer numbers from “we want a cobot.” Rate bands: Robotomated rate table.
How to judge the four cell blocks
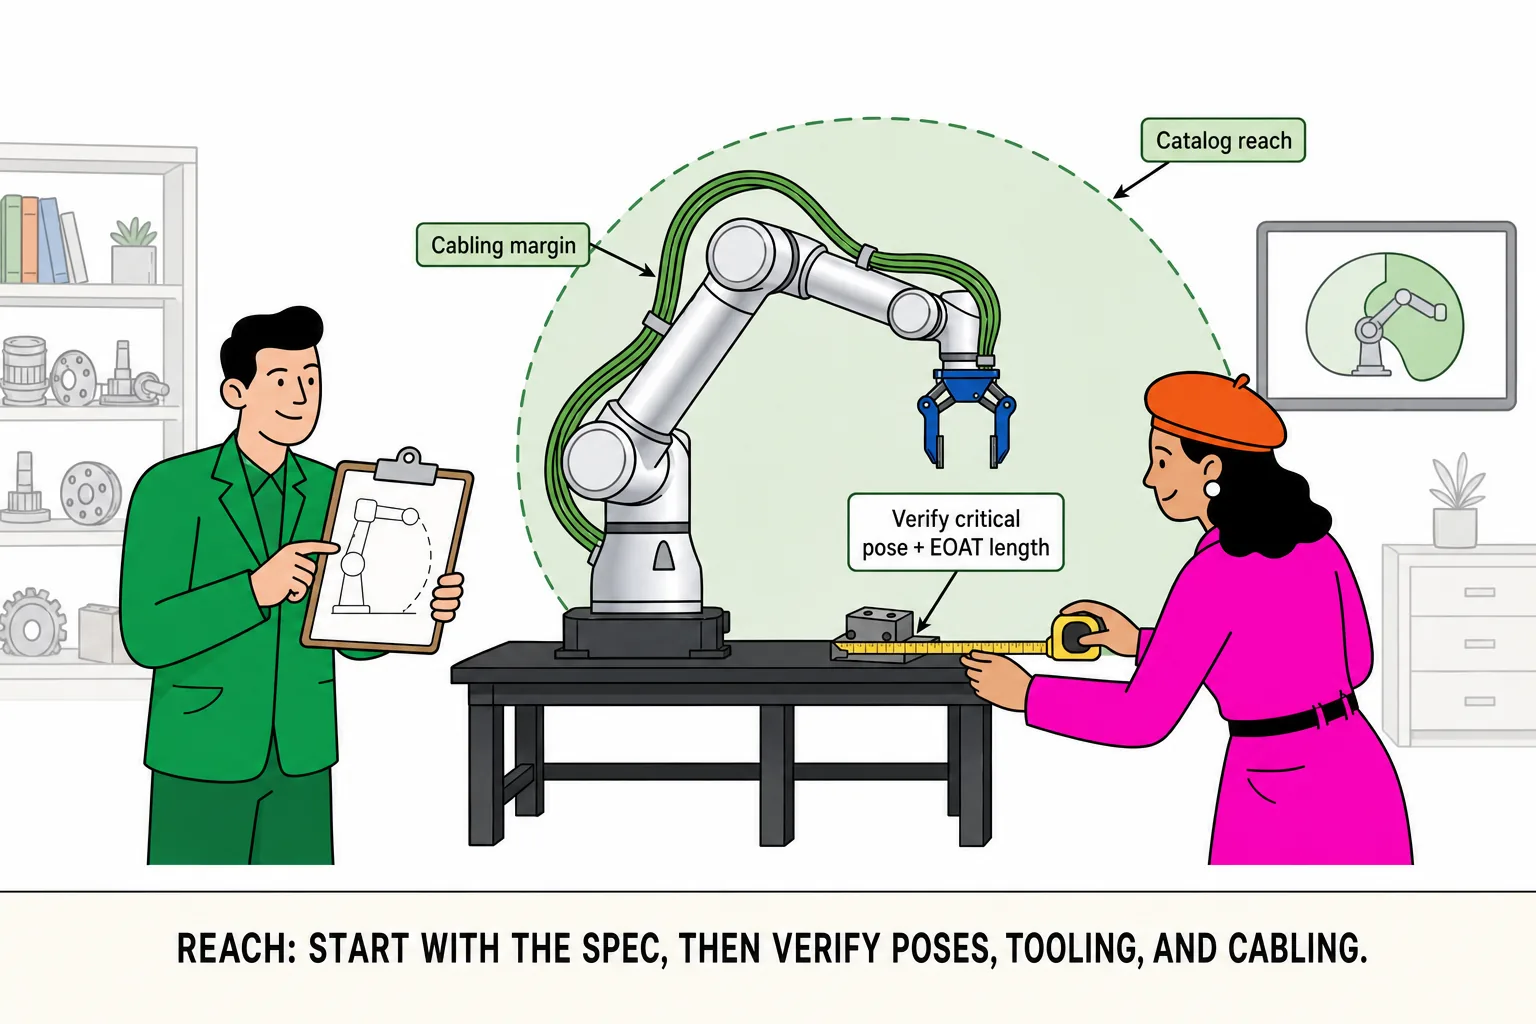
Arm: The number that matters is not max reach on paper—it is rated payload and reach at the far corner at full stack height. Full stack including pallet is often ~1.8–2.0 m; some guides use ~3.5 m clear height for standard full pallets when you estimate ceiling and ducting—you still measure on site. Center distance on the layout is not far-top-corner clearance—mark all four top corners and retract paths (reach guide). Raising the base, angling the mount, or stepping to long reach is usually safer than “thin the vacuum cup first.”
End effector: Sealed cartons → vacuum (foam pad or cup array); bags, open tops, irregular shapes → clamp or hybrid. Published vacuum tooling mass is often 3–8 kg—subtract from rated payload. Worst TCP = heaviest case + tool + adapter plate (payload guide; valves and flange: end-effector guide). Poor seal or slow vent time eats takt in “wait for vacuum”—put vent time in the beat sheet at selection, not only a demo that “it sticks.”
Pattern software: Enter case size, pallet, pattern, and layer count; paths generate. Without pattern software, every place point is hand-taught; with many SKUs, changeover cost climbs toward a dedicated machine. Two review questions: is a new SKU coordinates and recipe only—or also a new cup face, side guide, and approach pose?
Pallet logistics: How full pallets exit and empties arrive (jack, dispenser, conveyor). If swap wait is undefined, cases/hour dies in idle even when the arm is fast. Before pilot, write who triggers swap, empty-pallet-present signal, and whether the arm must stop when a full pallet leaves.
Layer patterns (more than three names)
| Pattern | Density | Stability | Watch-outs |
|---|---|---|---|
| Column | Highest | Lower | Tips under side load; simplest paths |
| Interlocked | Medium-high | High | Usual default; stricter corner approach |
| Pinwheel / split row | Medium | Medium-high | Odd cartons or access gaps |
Why interlocked is often default: boxes lock together so transport and forklift stops are less likely to slide a whole layer. Column looks dense but is side-load sensitive—logistics reject stacks often trace here. Before quote, one page: carton L×W×H, boxes/layer, layers, rotation yes/no, pallet exit direction. The review is not “what is the pattern called”—it is does the wrist bend at the top far corner, does the cable sweep the fence, and is SKU change coordinates-only or also tooling/guides?
Does your line rate fit the cobot window?
Rough math: target cases/hour ÷ 60 ≈ required cases/min. Example: 480 minutes/shift, target 5,000 cases → ~10.4 cases/min, inside the common 8–14 cobot band. If you need 18+ cases/min long term, do not force cobot and blame “the arm is slow”—that is a selection boundary. Split the beat: pick + rotate + place + vent + inter-layer lift + pallet handshake; counting only “arm flight time” understates. Method: cycle time guide.
Payload shortlist (after tool deduction, with example)
Example: case 8 kg + vacuum tool 1.2 kg ≈ 9.2 kg TCP. That is above r-Core ~5 kg rated—compare r-Max 16 kg / r-Max 20 kg long-reach in Side-by-Side Comparison. If after tooling you sit clearly under ~5 kg and full-stack corners clear, r-Core can stay in the finalist set. If the scene is fuzzy, use Product Advisor. Footprint and human clearance first: True-scale AR.
Infeed and stop tolerance (when vision is real)
Tight conveyor stops (mm to low-cm) and rigid cartons: hard stop/centering is often enough for a pilot.
Loose stops, soft cartons, pile feed: vision or conditioning belongs in the quote scope—not a change order after sign-off.
“Vision will fix it” is a common failure—vision fixes pose, not unstable layers or overrated payload. Ask first: can upstream contract stop tolerance? ±3 mm vs ±20 mm only is two cells and two budgets.
Safety notes (the case is the kinetic energy)
Force limiting is not zero risk. Published guides flag case-to-person contact while moving, stacking above head height, and vacuum loss dropping a case from height. Write exclusion zones, drop footprint, and vacuum fault stops into the assessment (Safety & I/O guide); collaborative risk assessments often reference ISO 10218 and ISO/TS 15066. Cell footprint and human zones: workcell layout guide. When people pass near a full-stack path, speed and zoning often matter more than the “collaborative” label.
Three common failure modes
Demo two layers, produce at full height — top-corner wrist bend and protective stops appear late. Trial at target layer count; if reach fails, fix base/layout before swapping arms.
Takt counted as arm motion only — vent, inter-layer lift, and pallet handshake often dominate. Put them in the beat sheet before you promise cases/hour.
Infeed accuracy never contracted — ±20 mm vs ±3 mm is two solutions; adding vision later is almost always cost and schedule.
Pilot sequence
Freeze carton, pattern, target cases/hour, stop tolerance
Weigh heaviest case + choose EOAT; TCP after tool deduction
Layout infeed, pallet, human zones, drop zone
Trial at target layer count; save pattern recipes
Put vent, layer change, and pallet signals in the beat list; first-article sign-off
After PO: track on RooollTrack; vacuum spares via Care