Quick answer
Definition: catalog reach is usually base-to-wrist-flange max radius—not a guarantee your TCP hits every cell point
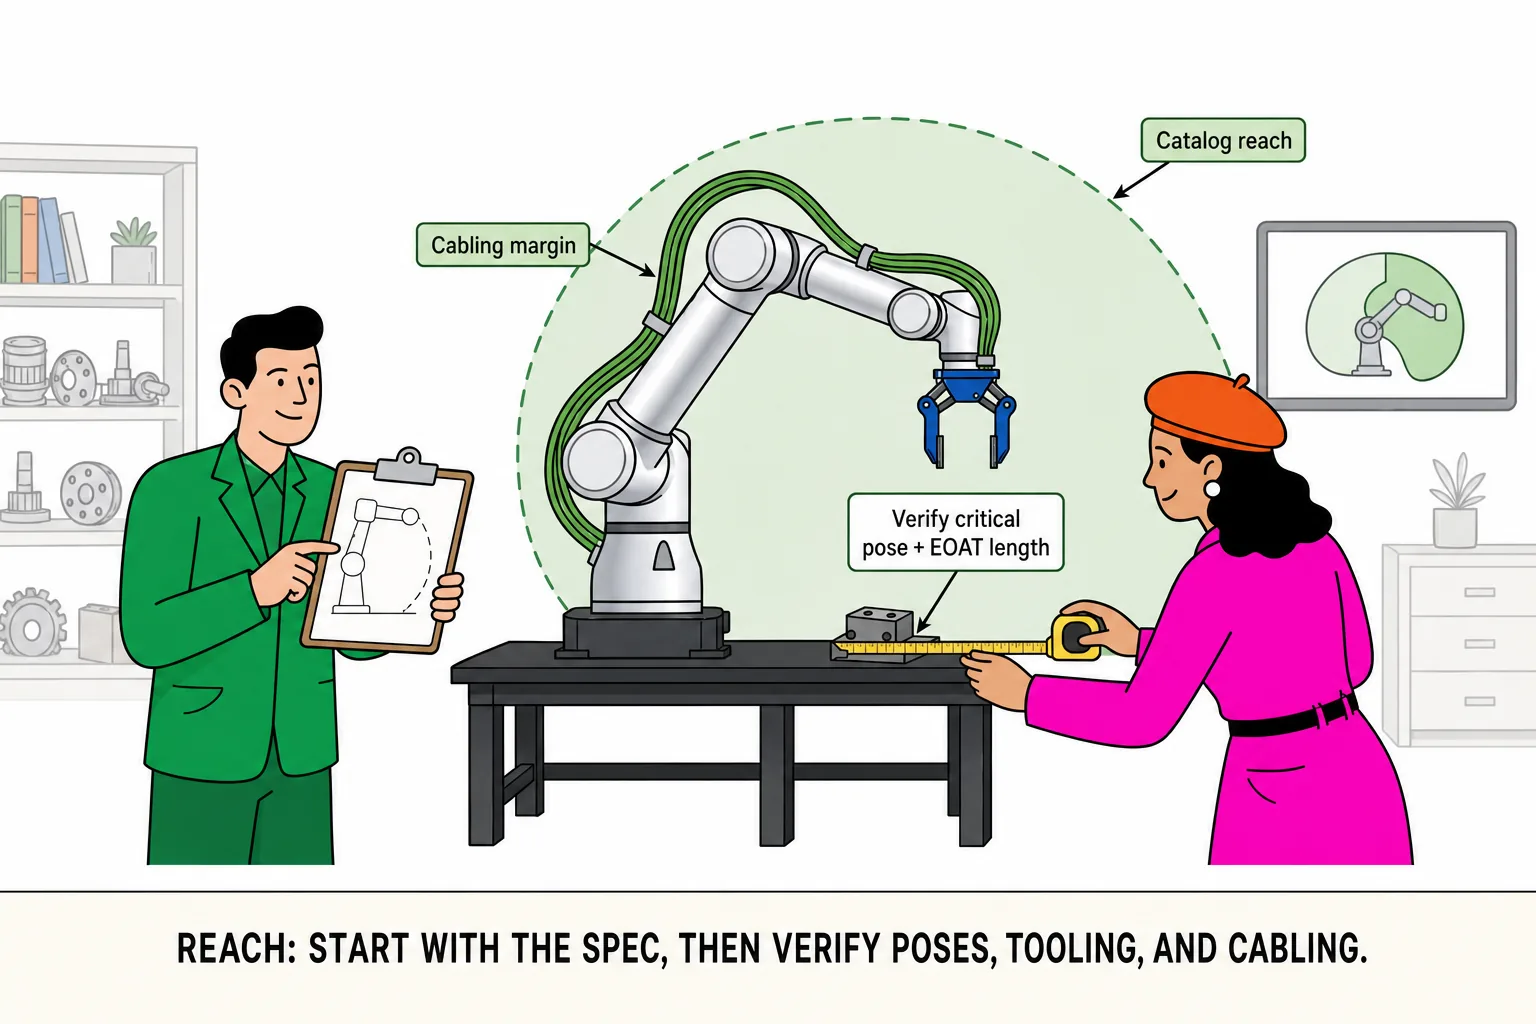
Formula: required reach ≈ farthest task point from base + EOAT length past flange + approach / retract clearance
Also check: wrist orientation at that point, inner dead zones, guards and neighbor interference—straight-line OK can still fail
Margin: do not size critical far points to 100% of catalog max; review base height with layout
With payload: far reach + heavy load derate each other → Payload guide
Teach reaches the far tote corner; flange distance still sits inside catalog reach, but the TCP is two centimeters short—the gripper sticks out, and the approach is not radial. Someone still flips the datasheet: “It says 1400 mm.” Reach failures are rarely unread specs. They are treating flange radius as the point you actually need to touch. Below: three terms, two worked examples, Roooll bands, dead zones, and cross-checks.
What cobot reach means (three terms that must stay separate)
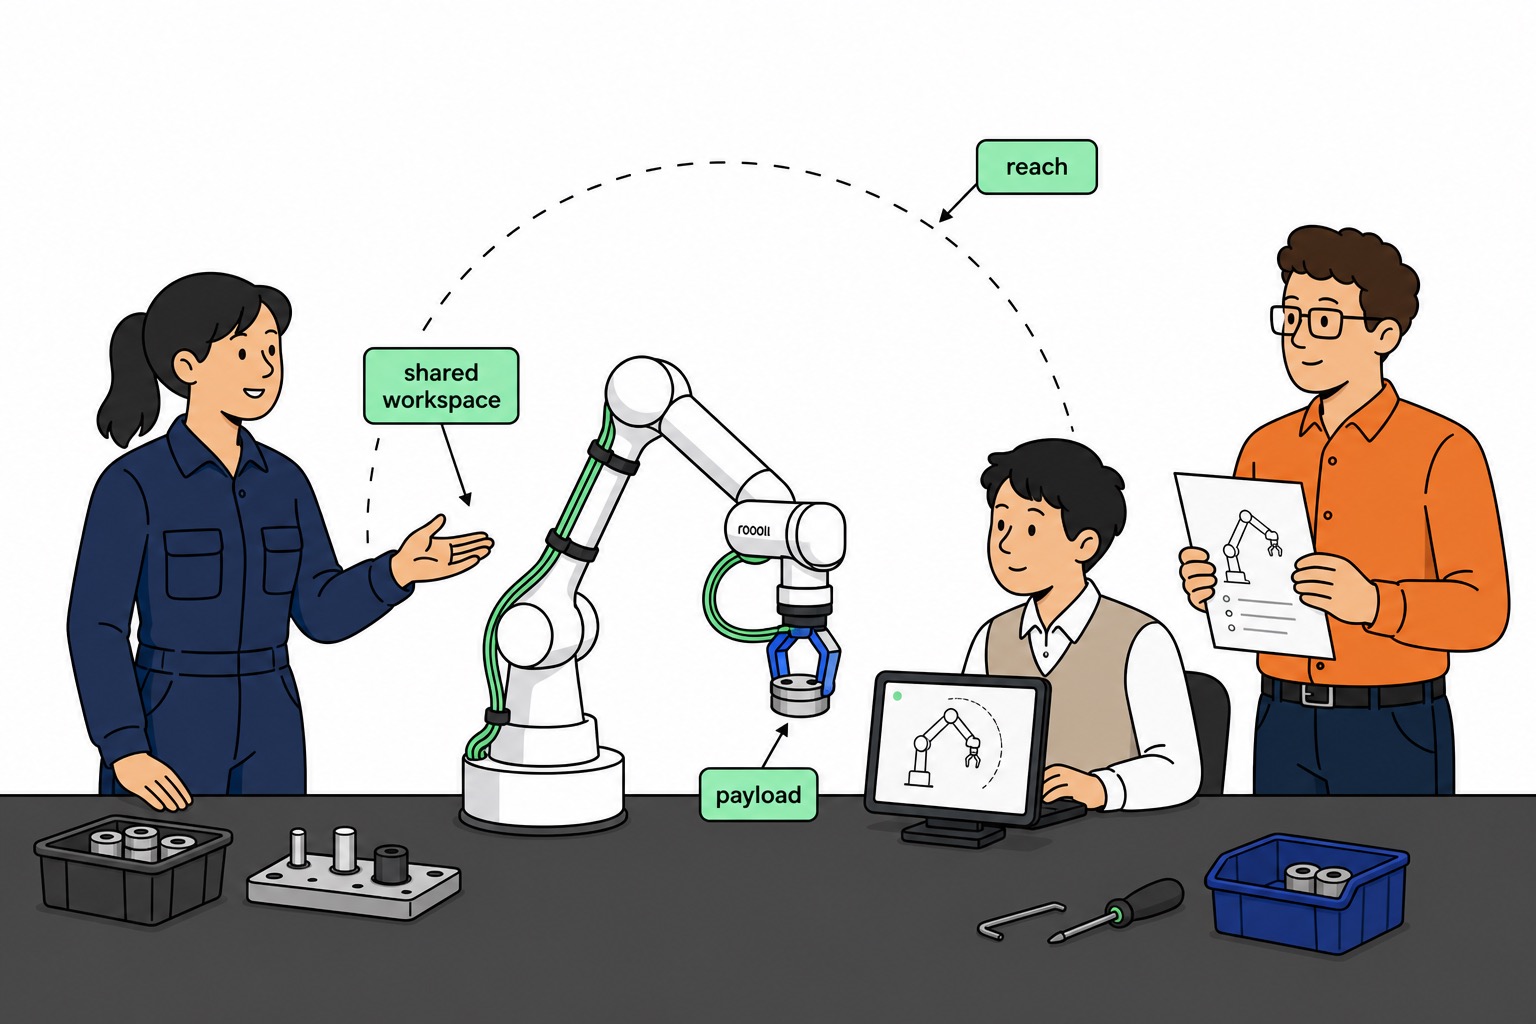
Catalog reach is typically max working radius from base reference to wrist flange—the datasheet headline (for example 622 / 922 / 1400 mm). The work envelope is what remains after pose limits, inner radius, under-base blind spots, and interference. A TCP demand point is where the tool center must go. Validate the TCP, never the flange center alone.
AMD Machines notes usable space depends on exact points, approach vectors, and dead zones—six-axis arms often miss under-base work and an inner radius. EVS’s reach guide frames required reach as farthest point + tool + clearance—paste that into the comparison sheet before quote.
| Term | Meaning | How to use it |
|---|---|---|
| Catalog reach | Spec headline (flange radius) | First filter for clearly short models |
| TCP demand point | Where the tool center must actually go | What you validate—not flange center |
| EOAT add-on | Flange-to-TCP / cup-face length | Adds directly to required reach |
| Usable envelope | After interference, pose, and inner limits | Final layout and teach criterion |
| Approach / retract clearance | Guards, door frames, stack height, retract space | The “invisible length” teams often skip |
Why the catalog number lies without context
Flange inside catalog radius only means the wrist can theoretically reach that circle. TCP still sits beyond the flange; approach is often not radial; grasp pose still matters. Fail any of those and “on paper” becomes two centimeters short in teach. Usual failure: the quote never marked farthest TCP or measured tool length past the flange.
How to calculate required reach (paste into the sizing sheet)
Core equation:
Required reach ≈ base-to-farthest-task distance + EOAT length past flange + approach / retract clearance
Mark the base center on a top view; list every pick / place / transition point—use the farthest, not the average or “looks central”
Measure EOAT length past the flange (fingertips, cup face, fixture tip)—if the tool is open, budget the worst-case upper length
Add approach and retract clearance: guards, machine door frames, stack tops, retract transitions (often tens of millimeters—set from the cell, not from habit)
Shortlist 2–3 models by catalog reach, then check worst-pose reachability and interference
Raise the base, angle the mount, shift the bench, step to longer reach, or add a track when needed—more honest than “thin the cup first”
Pair with payload → Payload guide; top-view method → Workcell layout guide
Worked example 1: CNC machine tending (farthest outfeed)
Chuck center is 620 mm from the planned base; the farthest outfeed tote corner is 1,380 mm from the same base. Gripper past the flange is about 160 mm; approach / retract needs another 60 mm.
| Line item | Value |
|---|---|
| Farthest task point (outfeed corner) | 1,380 mm |
| EOAT past flange | 160 mm |
| Approach / retract clearance | 60 mm |
| Farthest demand total | ≈ 1,600 mm |
Filtering on chuck-center 620 mm alone misses the outfeed corner. At ~1,600 mm demand, r-Lite 622 mm and r-Core 922 mm are short; mid-long tiers still need pose and door-frame checks. EVS uses this farthest-point method; doors and chuck poses often cut another slice off “paper OK.”
Worked example 2: palletizing full-stack corners (point table)
Pallet plane with the base at the side. Stack center is 900 mm from the base; the four full-stack corners sit at 1,050 / 1,120 / 1,280 / 1,350 mm (farthest 1,350 mm). Vacuum tooling past the flange is 180 mm; top-layer approach clearance is 80 mm (stack height plus retract).
| Point | Base to point | +EOAT 180 | +clearance 80 | Demand |
|---|---|---|---|---|
| Stack center | 900 | 1,080 | 1,160 | Center OK is not acceptance |
| Near corner A | 1,050 | 1,230 | 1,310 | — |
| Near corner B | 1,120 | 1,300 | 1,380 | — |
| Far corner C | 1,280 | 1,460 | 1,540 | — |
| Farthest corner D | 1,350 | 1,530 | 1,610 | Lock this row |
Center-only checks pick the wrong tier. Shift the base 15 cm and farthest demand jumps—layout and reach share one page → Workcell layout guide.
Short / mid / long reach bands (mapped to Roooll)
| Band | Catalog reach order | Typical cells | Roooll entry |
|---|---|---|---|
| Short | About 600–650 mm (e.g. 622 mm) | Bench assembly, near picks, lab | r-Lite |
| Mid | About 900–950 mm (e.g. 922 mm) | Near-machine tending, line-side feed, mid travel | r-Core |
| Mid-long | About 1,400 mm class | Cross-bench picks, larger totes, packaging | r-Reach (~1400 mm) · r-Ultra (~1402 mm) |
| Long / variable | About 1.0–1.85 m class | Large envelopes, heavy far poses, multi-point cover | r-Max (~1034–1854 mm by model) |
Bands are market shorthand; your farthest TCP demand plus pose clearance wins. Three-model table → Side-by-Side Comparison; application unclear → Product Advisor. Do not freeze reach tier before tool length is bounded → End-effector guide.
Dead zones, blocked paths, and a brief note on a 7th axis
Two common “paper OK, teach fails” cases: an inner radius near the base, and an under-base blind spot. Raise the pedestal, angle the mount, or approach near-machine points from the side before jumping a reach class. Blocked by a guard or cable tray? That is layout and dress—not another 50 mm on the catalog line.
When one fixed base cannot cover multiple far points, or demand stays above the long-reach tier: evaluate a 7th axis / floor track. Finish fixed-base farthest-TCP math first; tracks rewrite cabling, safety zones, and cycle time—see the Cycle time guide.
Cross-constraints: reach × payload × layout
| Cross | Question that must share one page | Revisit |
|---|---|---|
| Reach × payload | Does the far pose still sit inside rated headroom? Does full load kill takt? | Payload guide |
| Reach × layout | Are base ±tolerance, full-reach envelope, and cable bend on the top / side views? | Workcell layout guide |
| Reach × EOAT | After tool stick-out, does farthest demand still clear? | End-effector guide |
When load exceeds ~75% of rated, keep the envelope near 70–80% of max reach (Ocean Player)—far reach plus heavy load hits base / shoulder torque first.
Common mistakes
| Mistake | Floor symptom | Fix |
|---|---|---|
| Catalog reach as TCP radius | Flange OK, tool short | Add EOAT length first |
| Center distance only | Stack center OK, corners miss | Mark full-stack / full-travel corners |
| Ignore inner / under-base dead zones | Near-machine points unreachable | Check envelope and base height |
| Sum of link lengths as spec | Wrong vs vendor method | Filter with catalog reach only |
| Reach OK but hits guard / cables | Path blocked | Review layout and dress together |
| Never pair with payload | Far pose slows or protective-stops | Rewrite far points into the payload ledger |
| “Nudge” the base after delivery | 15 cm shift fails the tier | Freeze the top view before the PO |
Published evidence bands
| Band | Claim | Source |
|---|---|---|
| Required reach math | Farthest point + tool + clearance | EVS reach guide |
| Catalog definition | Often base to J6 flange | AMD payload & reach |
| Dead zones | Inner radius; under-base often unreachable | Same |
| Far reach × payload sweet spot | At high load, keep envelope near 70–80% of max reach | Ocean Player |