We often see projects where payload, reach, and model comparison all checked out—and the purchase order was signed. When the arm arrives, the base is 15 cm off, the fixture sticks out further than planned, or the cable bundle hits a guard at full extension. Fixing it means moving the bench, rerouting air lines, or shifting nearby equipment. That rework is rarely “we bought the wrong arm.” It is usually layout that was never drawn clearly at the start.
Layout planning answers one question: on your real station, can the hardest loop repeat reliably? The reach guide helps with “can the arm get there?” Layout helps with “where does the base sit, how much space stays clear, and do people or machines block the path?”
Start with one sketch page—you do not need 3D first
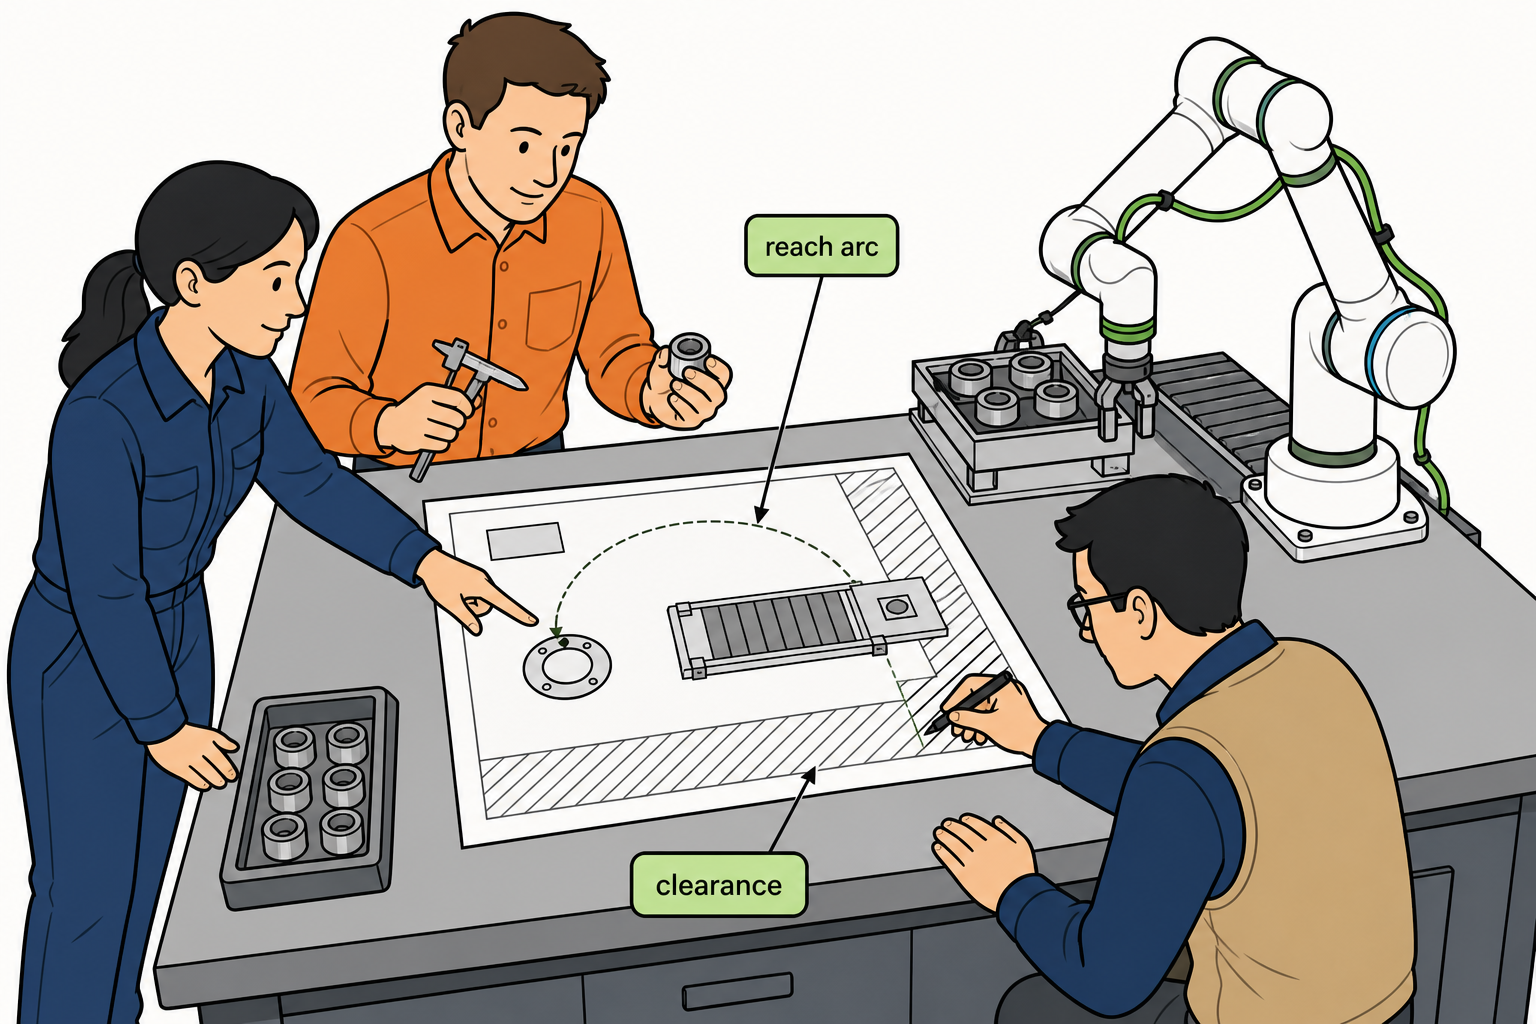
On A3 paper or a tablet, draw a top view. Add a side view if you need height or cable clearance. Mark these five items:
Base position and mounting — bolt pattern, bench thickness, vibration nearby
Pick and place points — tool center point (TCP), not “part somewhere here”
Arm and tool envelope at full reach — dashed arc or sweep, including end-effector length
Obstacles and clearance — neighboring machines, guards, where people stand, cable trays
Retract and service access — can someone reach the flange and gripper without entering the motion zone
Five gaps we see often
Measuring center distance only, not the pose. The base is 900 mm from the station center; catalog reach is 922 mm—looks fine. But a side approach, a bent wrist, and extra tool length can still miss the farthest point. Check critical poses with your end effector → https://roooll.com/en/insights/guides/how-to-calculate-cobot-reach
Mounting the base flush to the edge with no cable bend room. The external cable bundle needs margin at full extension, or protective stops appear often. Draw the cable path in the side view.
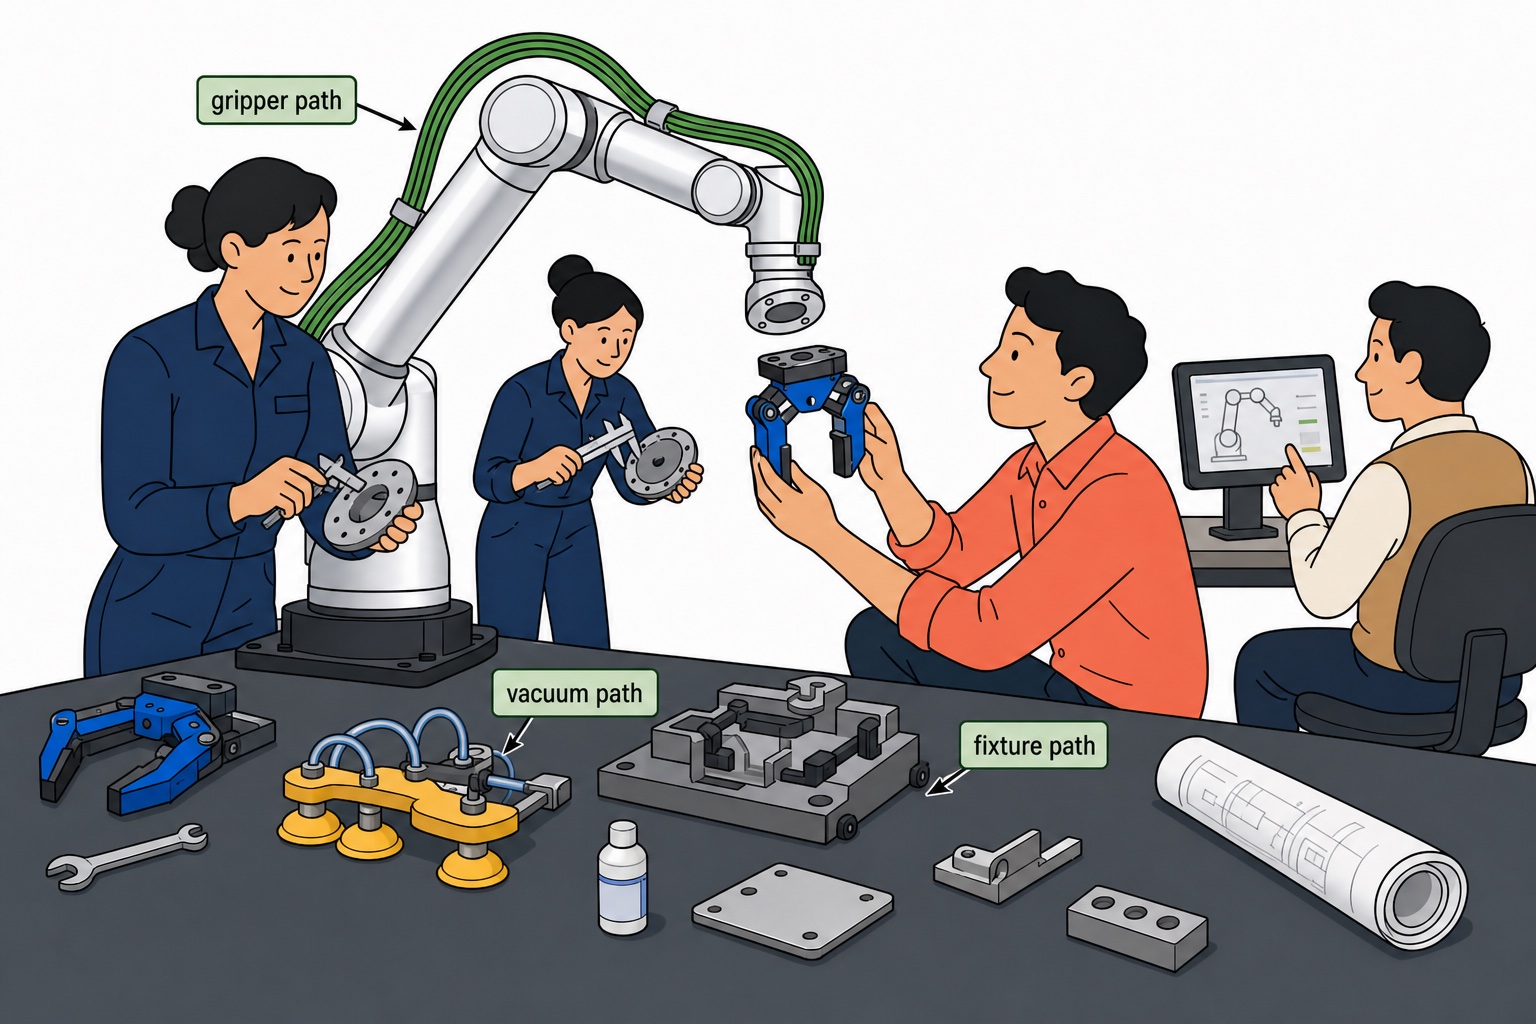
Choosing the arm before the bench is fixed. Welding and drilling after delivery cost time and money. Set layout together with the end-effector path → https://roooll.com/en/insights/guides/how-to-choose-cobot-end-effector
Trying to automate a whole line in project one. Start with one station: the tightest takt, least changeover, most consistent parts—then copy what works.
Never sharing the layout with procurement and the integrator. Three different sketches lead to mismatched quotes and commissioning. Send one PDF with your comparison link.
Begin with one small station
The first cell does not need to cover the full line. Pick the station with the tightest cycle-time pressure and least changeover. Write three success criteria:
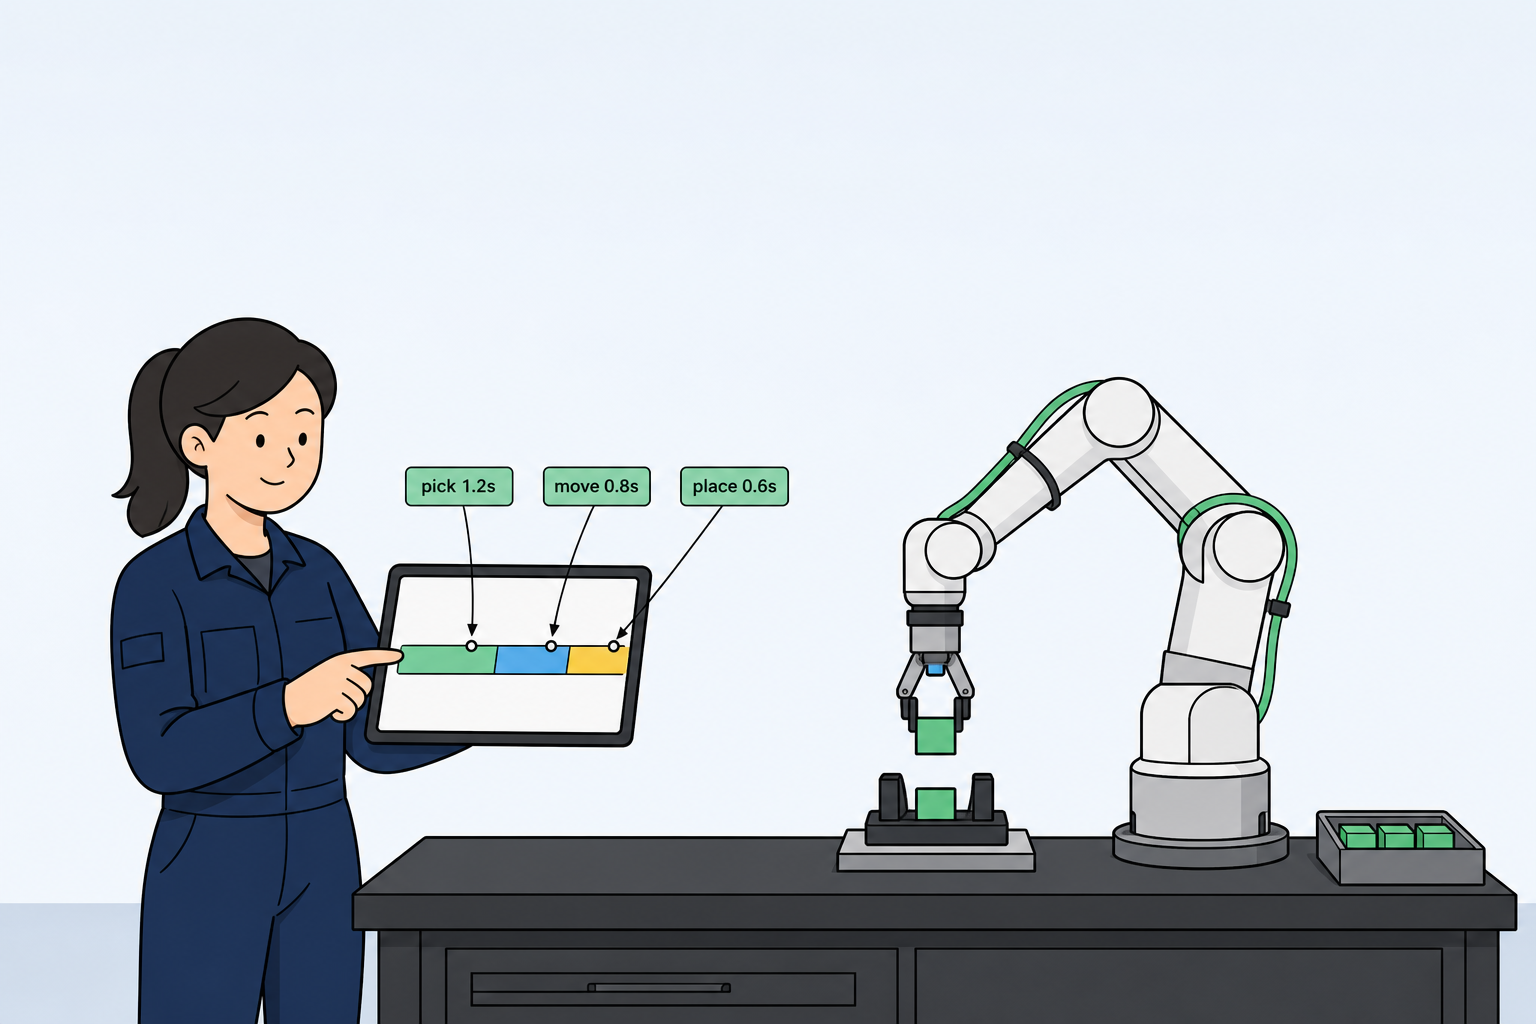
Stable cycle time at or below line takt (leave 10–15% margin if you can) → https://roooll.com/en/insights/guides/how-to-calculate-cobot-cycle-time
No interference on critical poses; repeatable retract path
Changeover steps documented—even if that is only swapping a tray
When the pilot runs well, extend to the next station. That is usually more controlled than automating everything at once.
One page to send your integrator
Copy this list, fill it in, and attach it to your inquiry or comparison link:
Top view + key side view (base, TCP pick/place, main obstacles)
Worst-case load and end-effector summary (see the payload guide)
Target cycle time and pieces per shift
Whether anyone enters the work zone for loading or changeover
Power, air, and network entry points
Acceptance criteria (for example: N cycles with no dropped parts and no protective stops)
Next step
Reach and pose check: https://roooll.com/en/insights/guides/how-to-calculate-cobot-reach
Lock the tier in Side-by-Side Comparison: https://roooll.com/en/selector/comparison
Have a sketch or station video? https://roooll.com/en/contact