Electronics assembly, appliances, sub-assembly lines—screw driving looks trivial until you add up hidden quality cost: the same M3 spec drifts between day and night shift; deep or side-angle entries strip threads or sit high; when customers ask for batch traceability, handwritten torque logs do not map cleanly to “which driver, which shift.” More shops automate repeatable fastening stations with collaborative arms—not because hiring is impossible, but because locking in a known-good path and torque recipe often beats holding the same first-pass yield on feel alone.
What a collaborative screw-driving cell actually does
A typical loop (yours will vary):
Nest — part loads in fixture; pins/clamps hold hole locations within agreed tolerance
Approach — arm presents driver/bit at taught angle (side holes and countersinks are pose-sensitive)
Run — torque/angle/speed program executes; pass advances to next screw
Changeover — new SKU swaps program or bit recipe instead of retraining the whole bench
The win is repeatable torque curves and saved paths—not “the robot is 10× faster.”
What you usually gain on the floor
First-pass yield and rework cost. One stripped thread or high screw in post-SMT or final assembly can mean rework boards, part swaps, or lot holds. Programmed driving repeats the same approach angle and tightening curve under rated load—less shift-to-shift torque drift—often a clearer ROI line than “remove one operator.”
More predictable takt. Manual fastening wobbles with fatigue, fill-ins, and changeovers; the arm finishes screw N before N+1 in a fixed order—helpful when one fixture carries 6–20 screws with sequence rules.
Traceability and process windows. If audits want “fastening params per lot,” program names tied to batch records beat handwriting alone. Senior assemblers still own first-piece sign-off, odd holes, new material trials—not deletion.
Mixed low-volume fits. Dedicated screw machines retool fixture, feed, and PLC logic. A collaborative cell often changes program, bit, and feed params—right when SKUs rotate and specs cannot relax.
Sizing: process before arm
Fixture and hole access come first. Deep holes, countersinks, side approach 15°–30°, neighbor interference—these decide teach-only feasibility before catalog repeatability numbers. Hole drawings and sample parts should hit review before arm short-list.
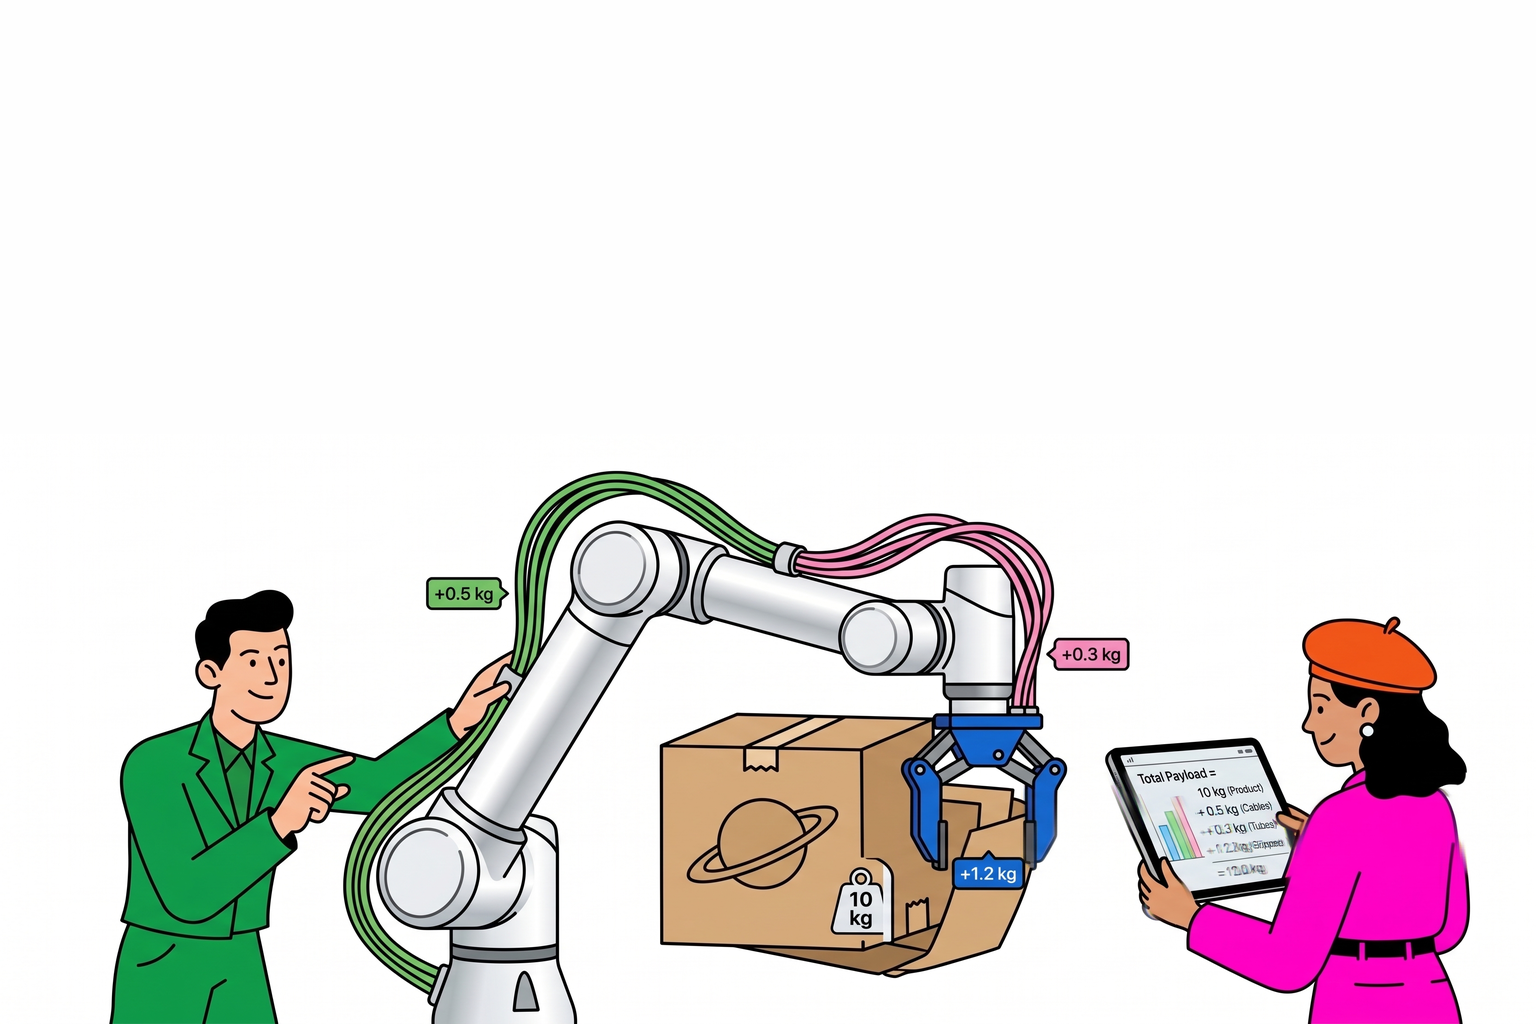
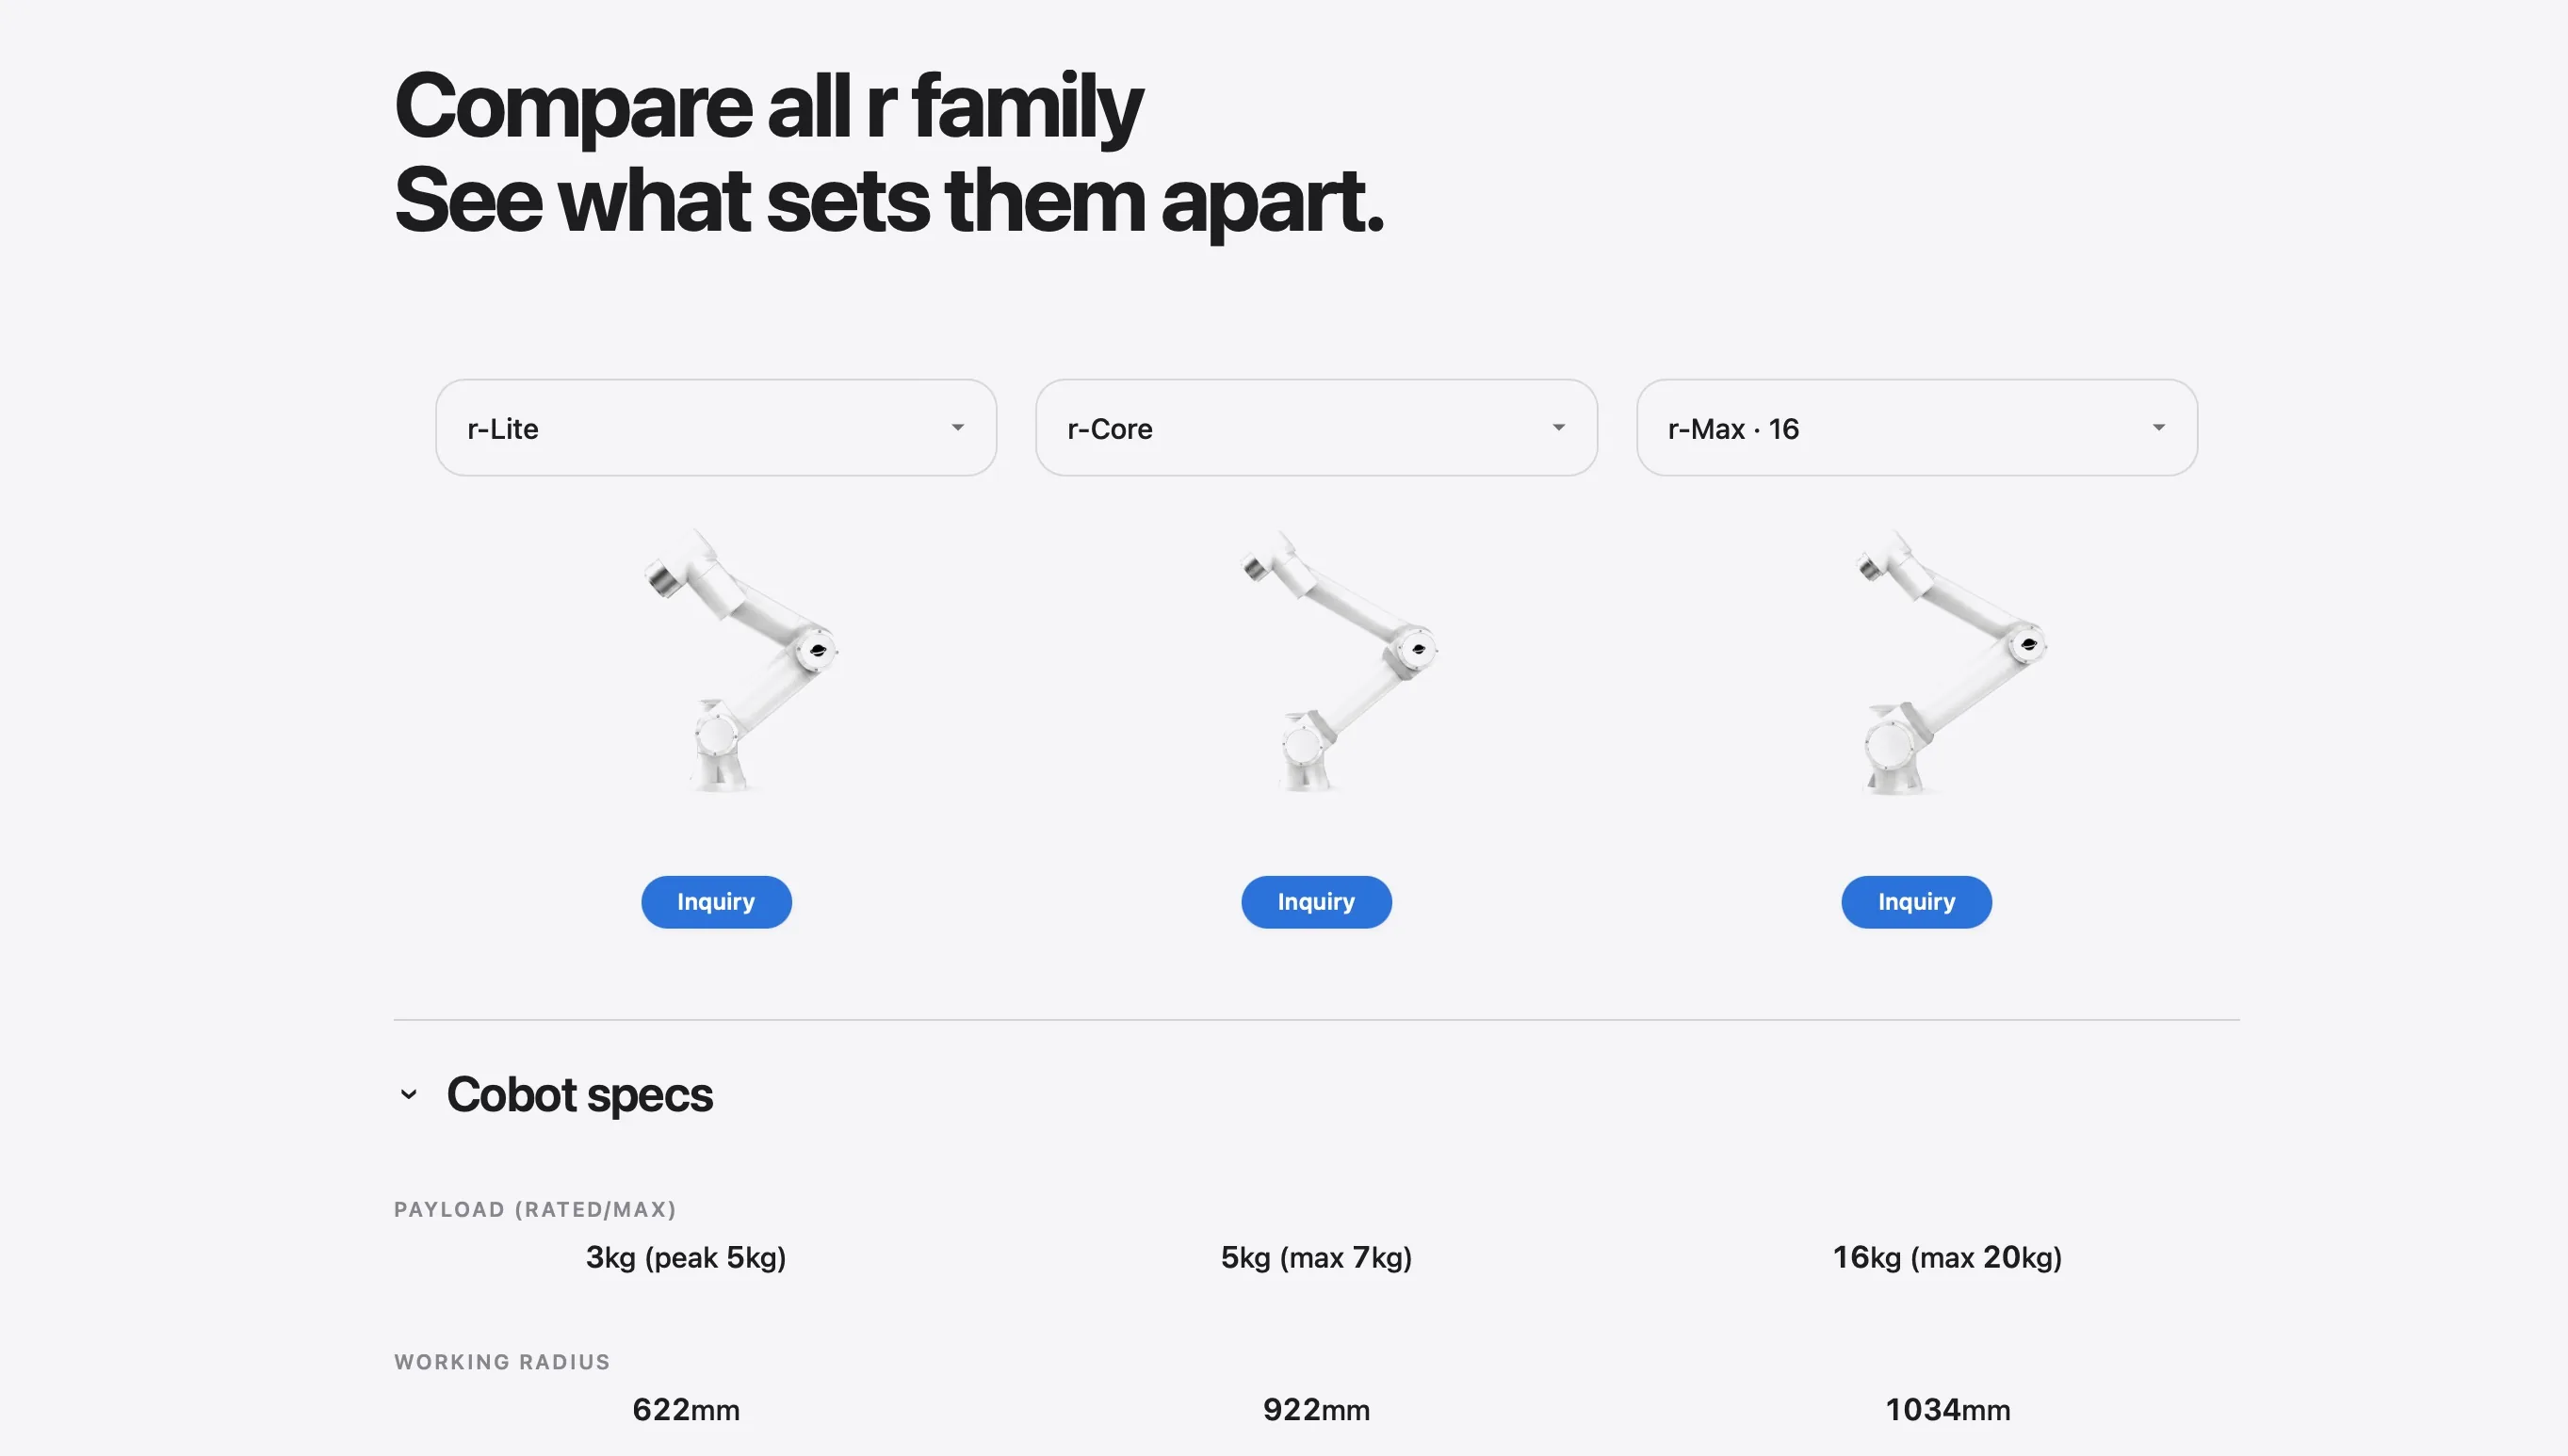
Payload is rarely the limiter. Electric or pneumatic drivers plus bit and cable often scale 0.3–1.5 kg—well under r-Core 5 kg rated. Screw driving seldom justifies stepping to r-Max or heavier tiers; validate wrist pose at approach and cable clearance instead. Tight cells often start with r-Lite (~3 kg rated) footprint, then compare r-Core reach—or both in Side-by-Side Comparison.
Torque and feed strategy often matter more than reach.
| Dimension | What to nail down |
|---|---|
| Tightening strategy | Torque / angle / torque+angle; strip threshold and stop |
| Feed | Hand load, bowl, blow feed—who owns changeover params |
| Bit and reaction | Deep-hole thrust, countersink lead-in; floating head needed? |
| Sequence | Order rules for multi-screw patterns (stress relief) |
| First article & audit | Sign-off owner; recheck cadence |
Cycle math: Cycle time guide. Tooling and I/O: End-effector guide.
Two floor vignettes (illustrative)
Vignette A — flat pattern, limited side approach: compare r-Core or r-Lite. Eight M3 screws on one plane, approach within ±10°, driver scales 0.9 kg → payload is not the story. Review feed keeping takt and whether reaction force shifts the board.
Vignette B — deep + multi-side holes: fix fixture or head, not “buy a bigger arm.” If teach shows the wrist cannot hold the drive axis, prefer floating head or fixture lead-in—fastening rarely jumps to heavy payload tiers; that is a handling station problem.
When not to force collaborative screw driving
Customer spec demands certified automatic fastening only, excluding collaborative proximity
Hole location needs per-part human adjustment—no controlled tolerance
Takt needs dedicated multi-spindle equipment on a long single-SKU run
Press-fit or complex reaction needs EOAT budget you do not have
Integrator review checklist (screw driving)
| Check | What it tells you |
|---|---|
| Hole tolerance + approach envelope | Teach-only vs sensing |
| Torque/angle program and strip policy | Process ownership |
| Feed method and changeover | Real takt vs demo |
| Bit wear and first-article flow | Production maintenance |
| Sequence and reaction force | Structural parts especially |
| Human–robot split | Who owns float/strip exceptions |