Quick answer
“Task readiness” is whether the worst loop can repeat reliably—not whether it looks runnable in a good demo
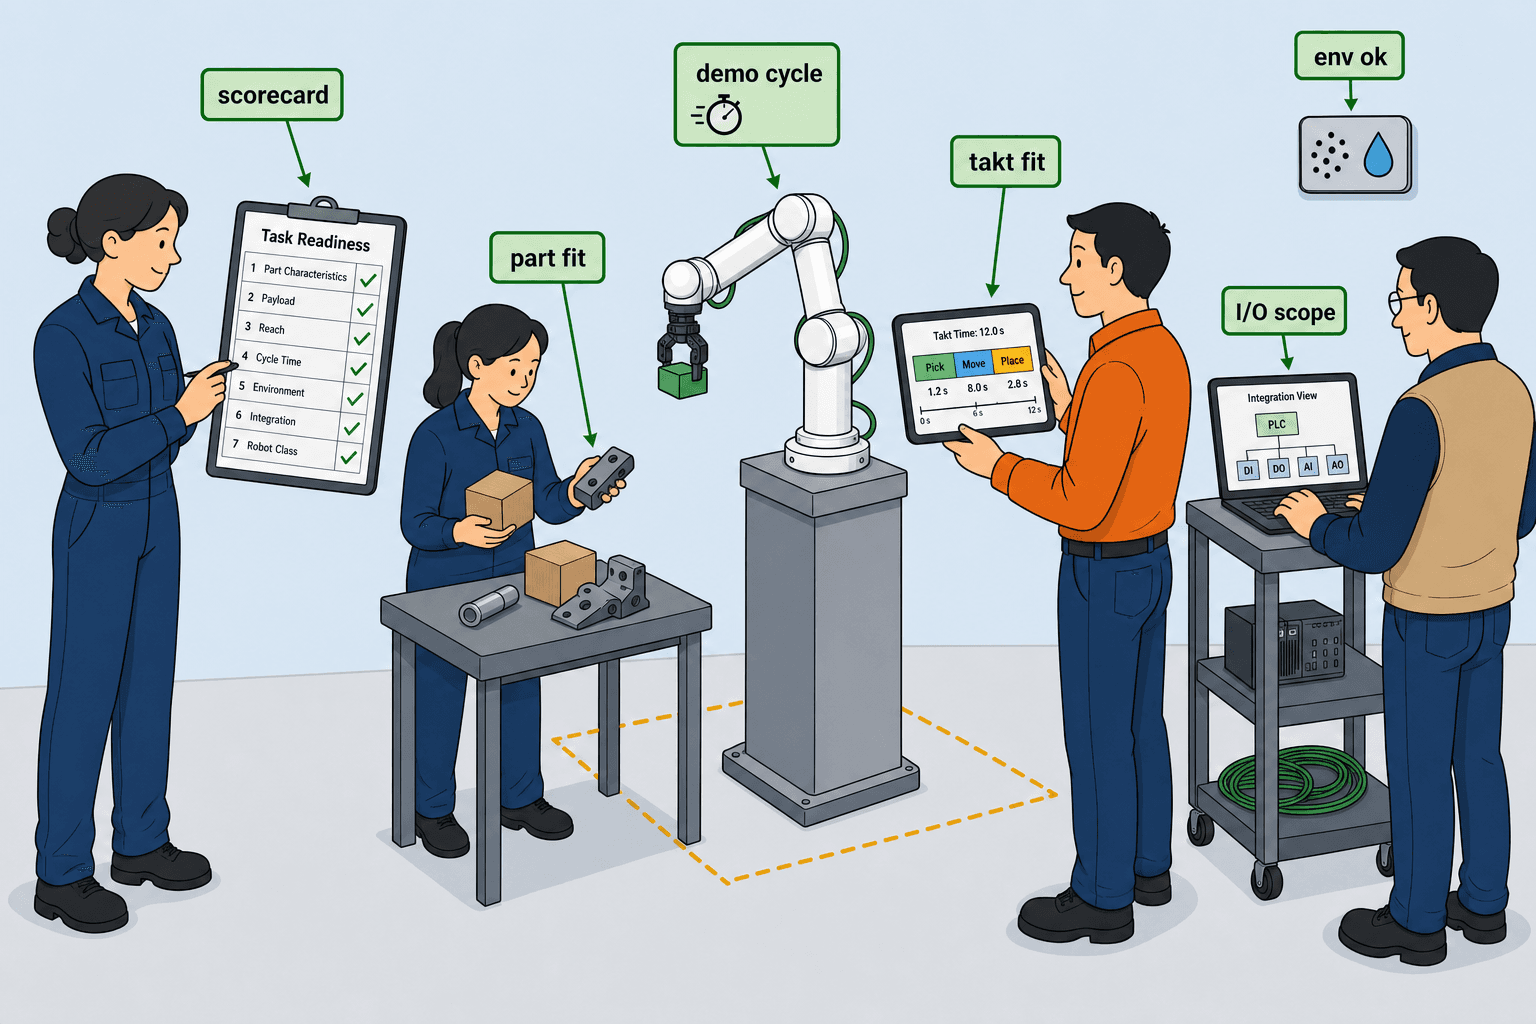
Use the seven-check scorecard (part/payload/reach/cycle-time/environment/integration complexity/recommended class) to remove uncertainty early
Then validate one worst-case demo cycle with samples: any drop, protective stop, or upstream wait sends you back to the matching section
Make the outcome scope-ready: EOAT, I/O, safety boundaries, and acceptance criteria align before PO
We often see projects where part weight, station size, and target takt are in the email—and r-Core is locked on the comparison sheet. When the arm arrives, the surface is too slick, changeover needs fixture work nobody scheduled, or full extension still misses the farthest tray. The miss is rarely “wrong arm.” It is no one assessed whether the task was ready for automation at the start.
“Ready for automation” is not a slogan. It means: on your real station, can the worst loop repeat reliably with a cobot—part grippable, payload with margin, pose reachable, takt achievable, environment allowed, integration scoped, and only then pick a robot class.
This guide is a Task Readiness scorecard: seven checks in order. Each has green / red signals and a deep-dive link. When all are green, use the Product Advisor or Side-by-Side Comparison to lock an r-Series tier. Whether you are an end user, integrator, or equipment engineer, treat the scorecard as shared language for the first technical alignment.
Why readiness failures turn into commissioning cost
| Cost item | Published range / what it implies | Source |
|---|---|---|
| Robot hardware (system hardware) | ~25–40% | AMD Machines |
| Integration engineering | ~30–50% | AMD Machines |
| EOAT (end-of-arm tooling) | $2k–$40k+ | Robolist TCO model |
| Integration engineering (scale) | $8k–$60k | Robolist TCO model |
Part characteristics
Automation starts with the part, not the spec sheet. Answer:
Geometry and surface: regular shape or irregular? Need locating pins, vision, or compliant gripping?
Consistency: incoming tolerance, orientation, batch variation—acceptable?
Fragile or clean: scratch risk, contamination, ESD or clean-room needs?
Green: Worst sample grips or vacuums reliably; feed orientation can be constrained or corrected.
Red: “We will figure it out on site”—no trial video or sample before anyone locks a model.
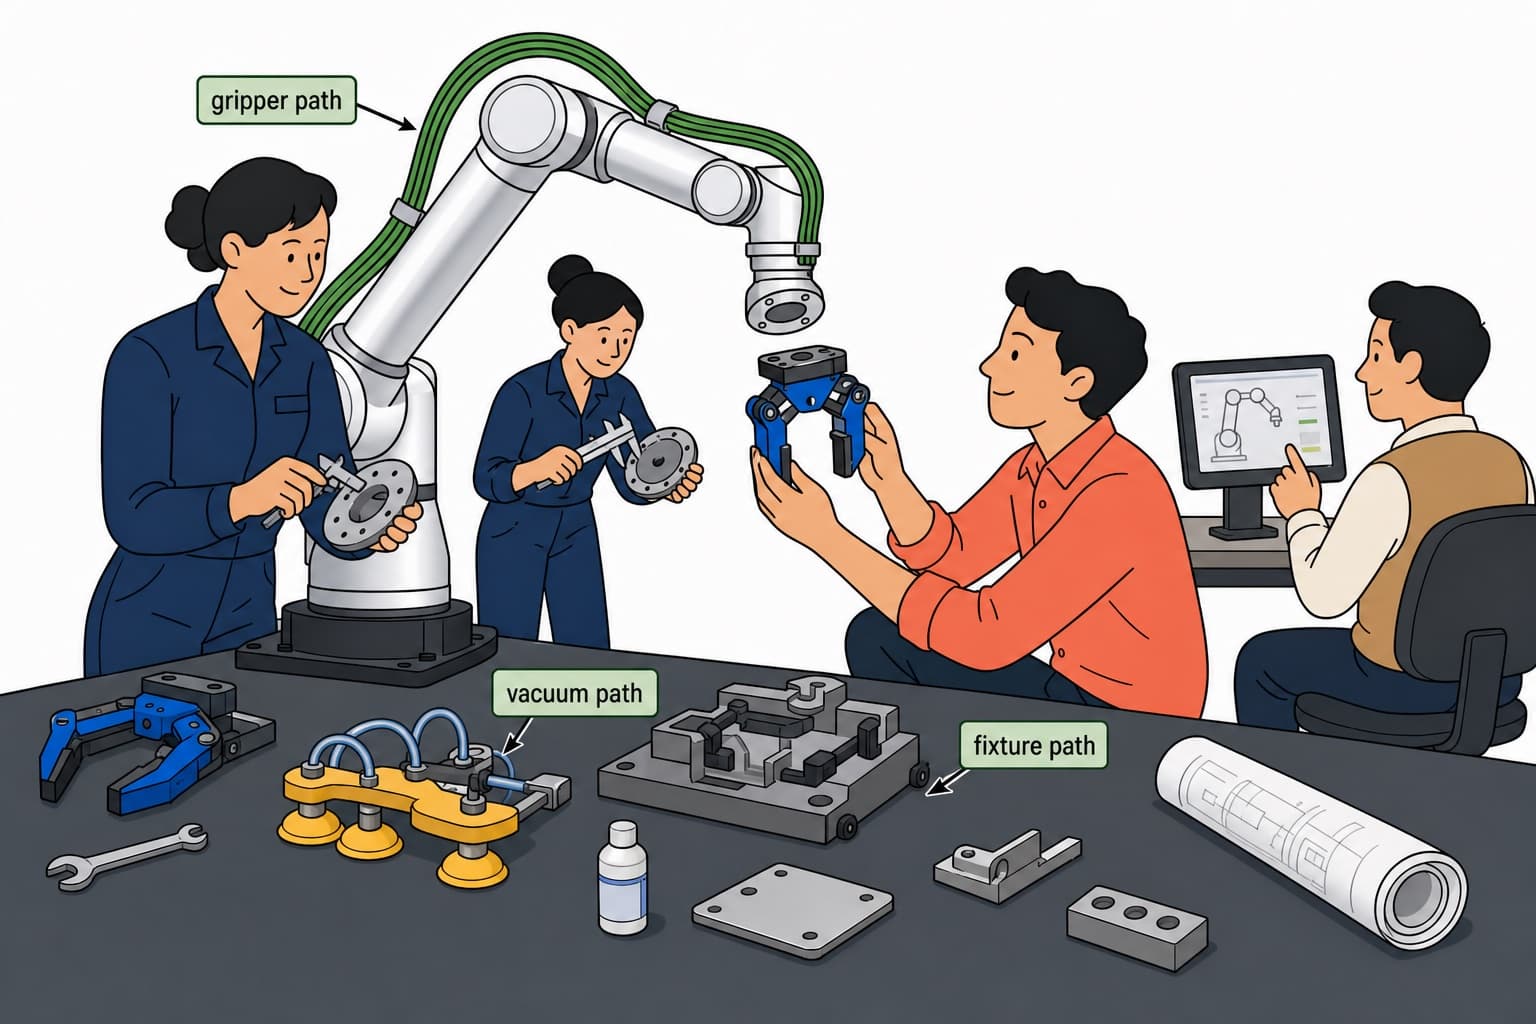
→ End-effector path: End-effector guide
Payload requirements
Payload is not part weight alone. Worst-case TCP load = part + end effector + valves/harness + dynamic margin. Rate daily cycles on rated payload, not peak catalog numbers.
Green: Margin at rated load; accel/decel does not trigger repeat protective stops.
Red: Discussion lists part grams only; vacuum cup size TBD; demo used light load, production is heavier.
Reach requirements
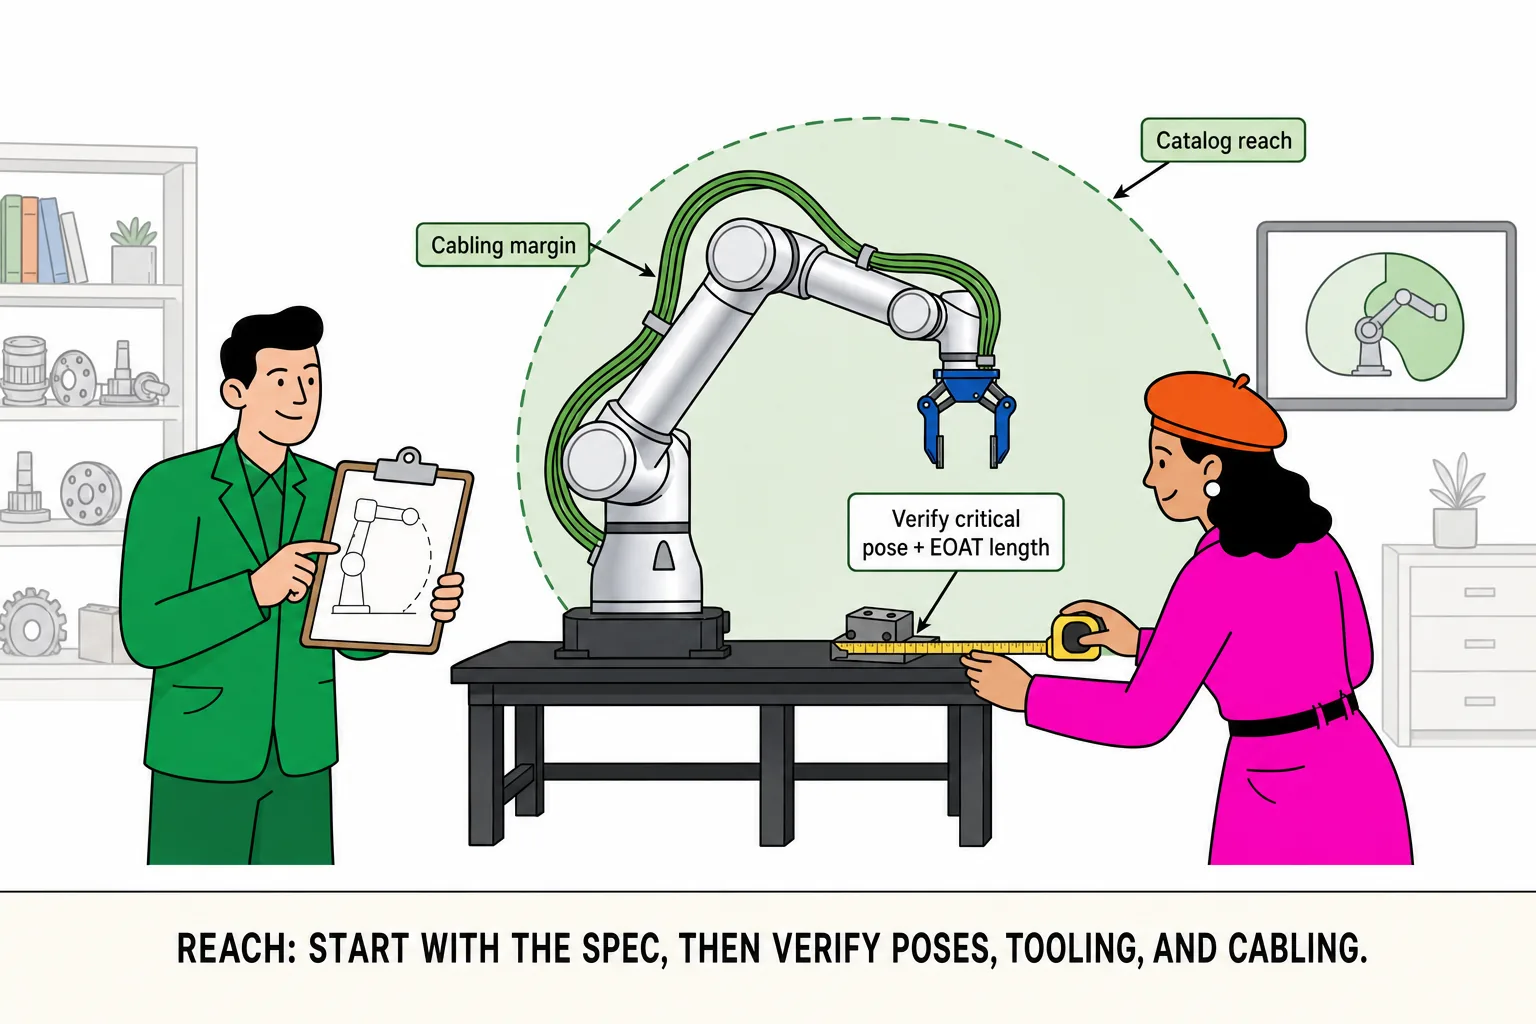
Paper reach ≠ floor reach. Check distance at critical pick/place poses with TCP, EOAT length, wrist angle, and cable bend margin.
Green: Farthest station clears at critical pose; retract path repeats.
Red: Only center distance measured; side approach or full extension with bent wrist not checked.
→ Reach guide · Base and clearance: Workcell layout guide
Cycle time requirements
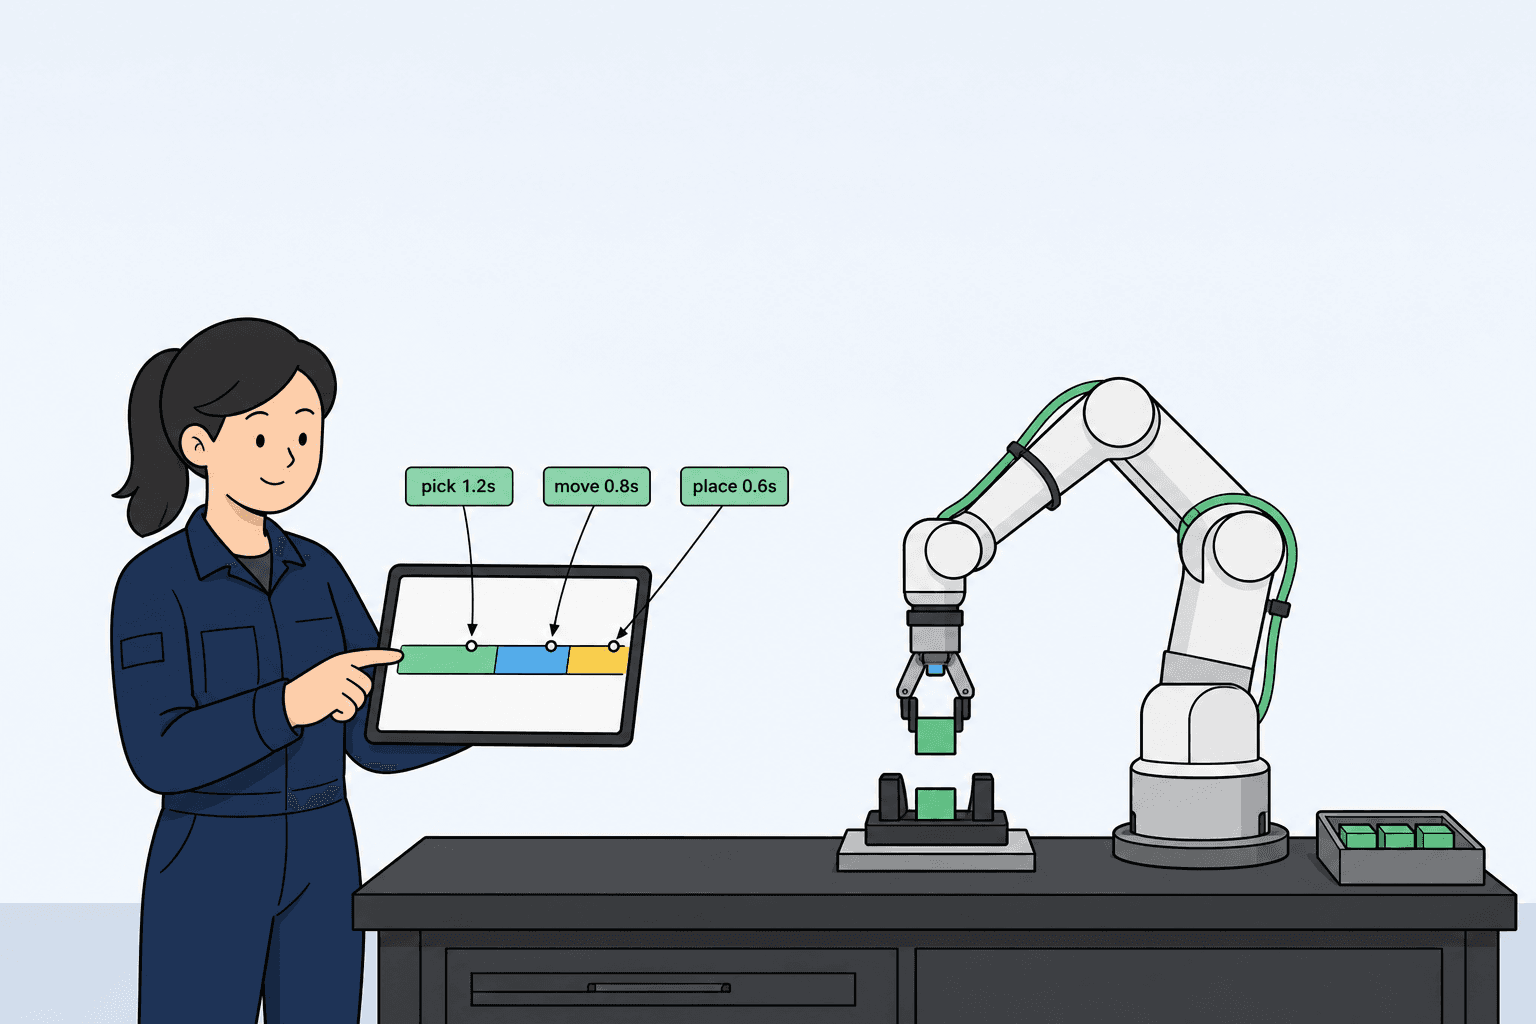
Split one cycle into pick / move / place / wait (plus changeover, vision, equipment interlocks). Time the worst case with a stopwatch or video, compare to line takt—leave 10–15% margin if you can.
Green: Estimated cycle ≤ line requirement; bottleneck is not “waiting on upstream.”
Red: “As fast as possible” only; no segment timing; changeover or first-piece drift ignored.
Environmental constraints
Write the shop norm: dust, splash, wash-down, temperature, level changes, long travel, people entering the work zone. These drive protection, speed strategy, and safety boundaries—better settled before the arm lands on the floor.
Green: Environment and protection are in the project scope; EHS boundary has a draft.
Red: “Collaborative means no fence”; wash-down or food/med with no IP or rinse plan.
Integration complexity
List DI/DO count, voltage, who wires gripper/vacuum/vision/conveyor interlocks, e-stop topology with the line, and who builds PLC or MES. Higher integration complexity → smaller pilot scope.
Green: One-page I/O draft is shared with everyone involved; integrator, EHS, and the floor read the same version.
Red: I/O assumed “inside the arm”; e-stop not aligned; three different spec stories.
→ Selection mistakes guide · Safety and I/O scope guide
Recommended robot class
After items 1–6 are green, narrow to an r-Series tier: compact light load (r-Lite), daily driver (r-Core), long reach across cells (r-Reach), heavy palletizing class (r-Max / r-Ultra). Class is not “biggest wins”—it is the smallest tier with margin under worst case and reasonable footprint and integration cost.
Green: Procurement, engineering, and the floor share one advisor or comparison link; tier matches pilot scope.
Red: Catalog max reach as padding; project one tries to automate the whole line.
→ Product Advisor · Side-by-Side Comparison
Fifteen-minute walkthrough
| Check | Green | Red |
|---|---|---|
| 1 Part | Worst sample gripped or vision path set | “Fix on site” |
| 2 Payload | TCP incl. EOAT, rated load | Part weight only |
| 3 Reach | Critical pose + EOAT checked | Center distance only |
| 4 Cycle time | Segmented timing, 10–15% margin | No target seconds |
| 5 Environment | Protection and safety aligned | Collaborative = no review |
| 6 Integration | I/O and e-stop draft shared | I/O assumed in arm |
| 7 Robot class | One advisor/comparison link aligned | Three spec stories |
Run one demo cycle
Green on paper is not enough. Run one worst loop with samples on the station or a scale mockup: dropped parts, protective stops, waiting on upstream—any hit sends you back to that section with evidence before you move forward.