Quick answer
There is no universal accessories shopping cart—freeze the task and infeed first, then decide what must ship in phase one versus what can wait
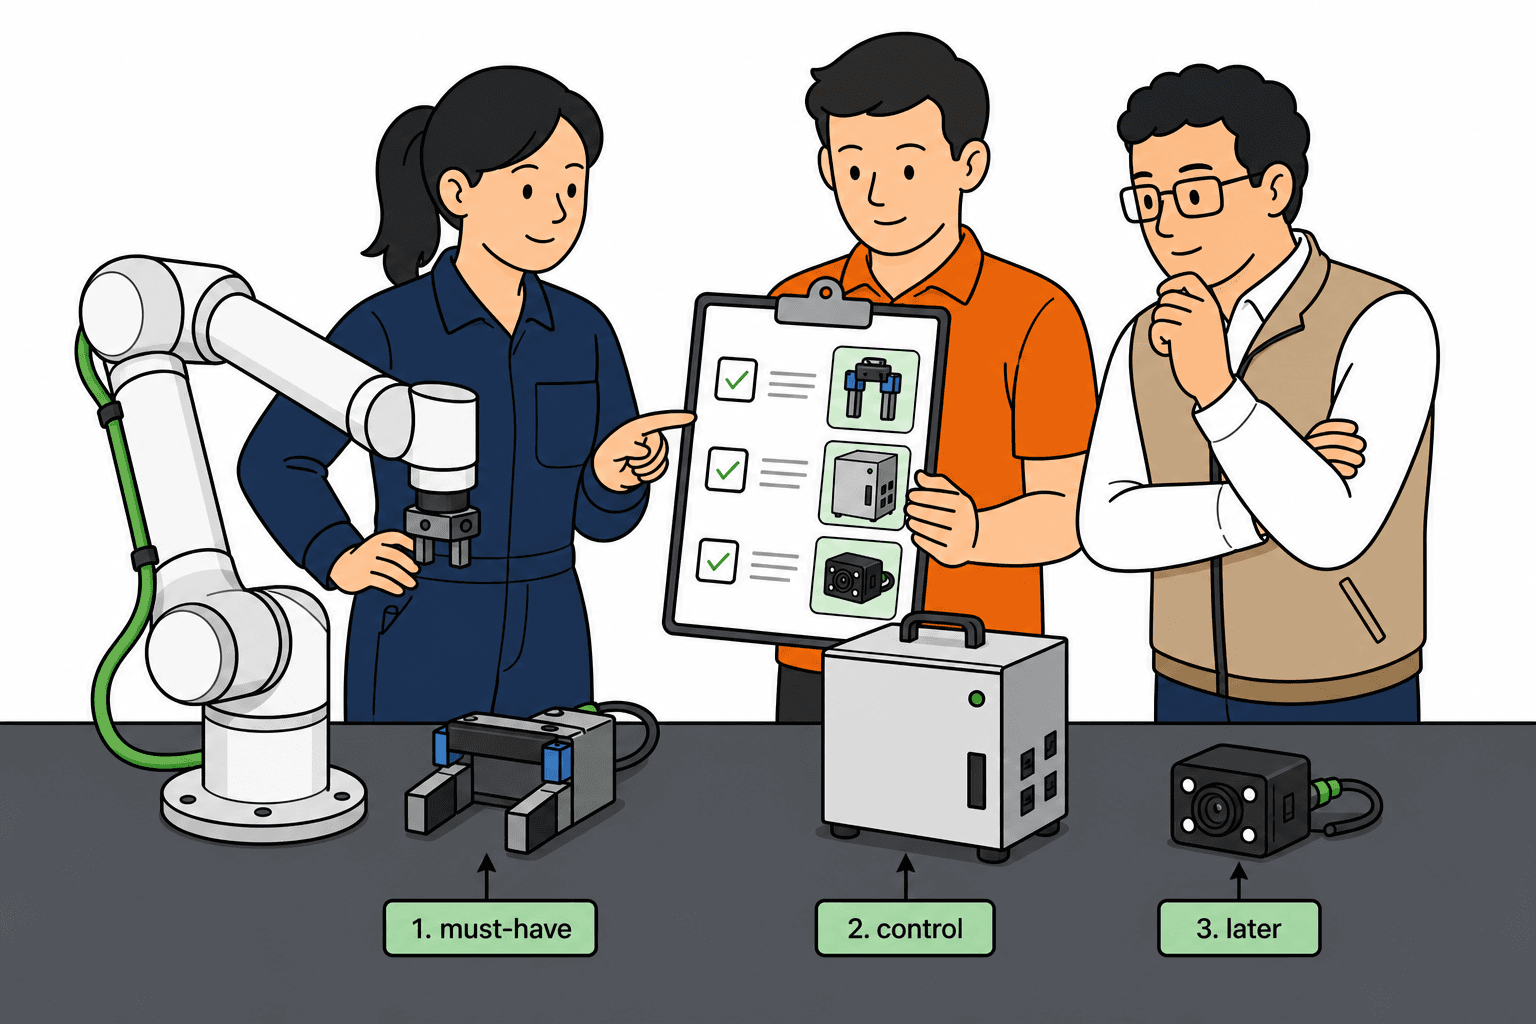
Must-have layer: end-of-arm tooling (EOAT) + a rigid mount/base + control and cabling (including e-stop and baseline I/O)
Common options: vision, tool changers, extra safety devices, cable dress and covers—driven by infeed tolerance, changeover rate, and risk assessment
Check by application: pick-and-place, CNC tending, and palletizing do not share the same “buy now / buy later” list
Payload ledger: gripper, vacuum, and adapter mass must come out of rated payload → Payload guide
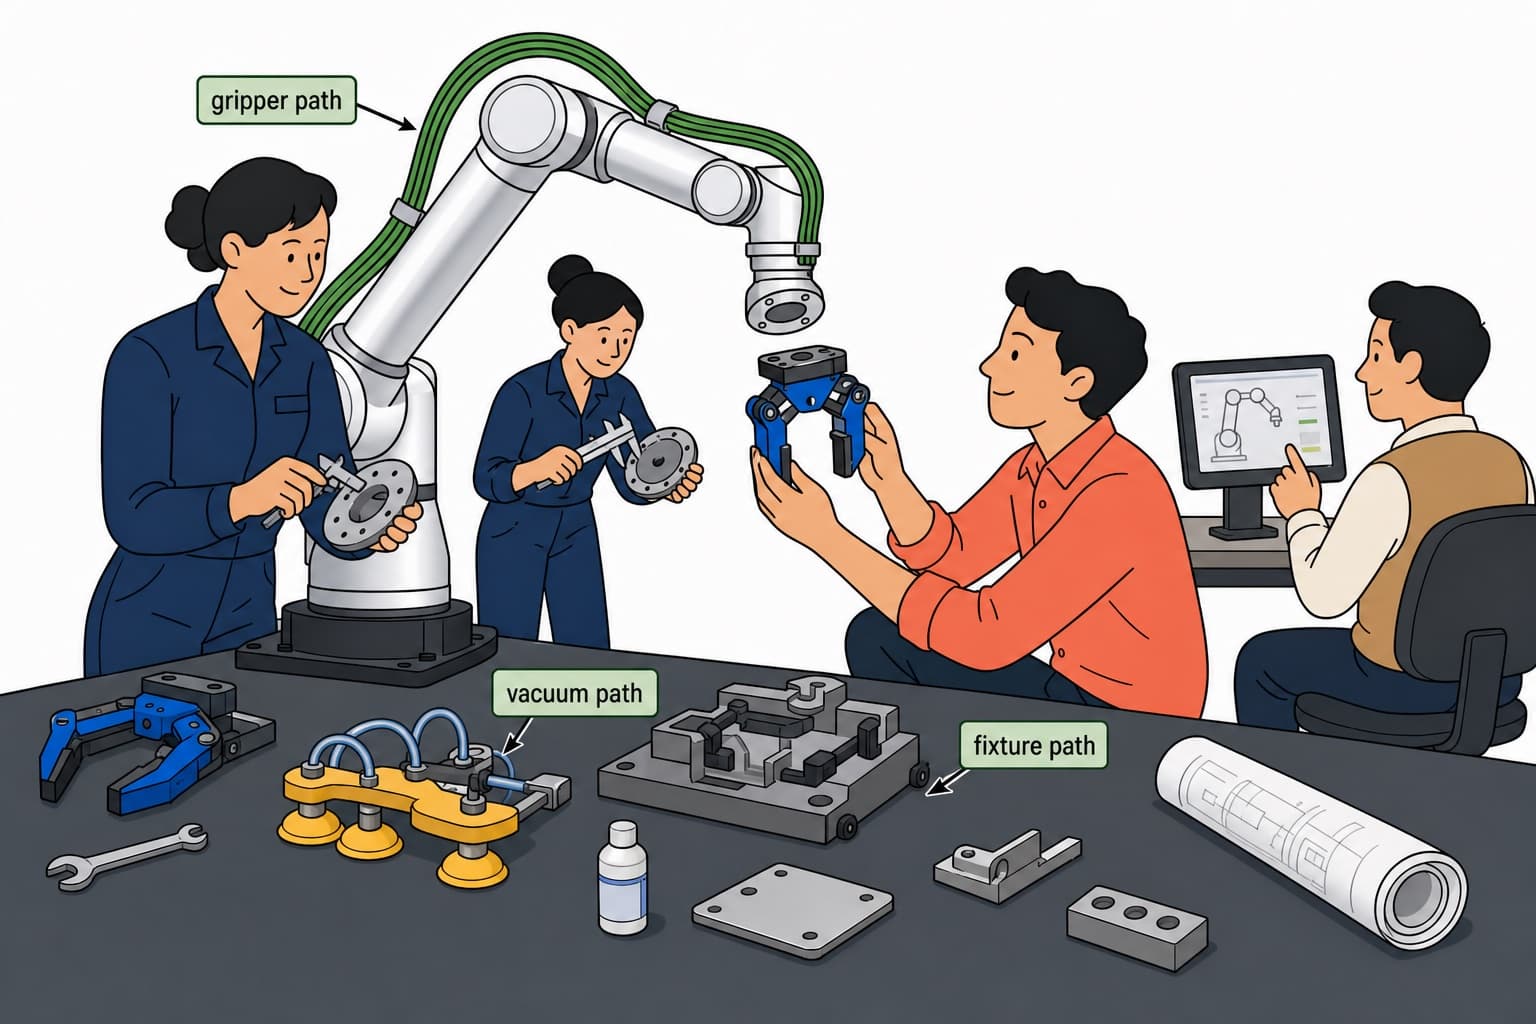
The easiest mistake when buying a cobot is assuming the arm arriving means the cell can work. The arm is the actuator; what usually decides whether week-one acceptance is honest is everything past the flange—gripper or cups, how the base is fixed, how the cabinet and cables enter the station, and whether parts can be located. Buyer guides often frame the arm as only part of the solution: Robotomated’s manufacturing buy guide stresses that the workcell side (EOAT, fixturing, safety) carries much of the real deployment story. This page answers what accessories you still need, not another glossy accessory catalog. For line-item money and payback, keep the Cost guide and ROI guide open beside it.
First distinction: checklist ≠ brand shopping cart
Search results for “what accessories do I need for a cobot” usually split into two shapes: “top 10 accessories” listicles that pile grippers, vision, mobile bases, and software into one scroll, and OEM accessory catalogs. Both are useful, and both make it easy to over-buy or buy in the wrong order in phase one. A stabler pair of questions is:
What will make acceptance impossible in phase one if it is missing?
What can wait until infeed and takt are stable without forcing a redesign?
Once the list is split into must-have / common option / buy-later, browsing the Accessories hub by category is cheaper than bookmarking ten brand pages first.
Published evidence and budget bands (accessory side)
Accessory prices are not one sticker, but buyer guides keep repeating nearby bands that are good enough for a capex sanity check—not a quote.
| Accessory class | Published band | Source / how to use |
|---|---|---|
| EOAT (grippers, vacuum, etc.) | About $1k–$15k (common working band ~$2k–$15k) | Robotomated buy guide; wider bands in the Cost guide |
| Fixtures / presentation | About $3k–$10k per product variant (order of magnitude) | Robotomated |
| Vision | About $3k–$20k (2D lower, 3D/bin higher) | Same buy guide; chaotic infeed pushes higher |
| Safety scanners, etc. | About $2k–$5k each (order of magnitude) | Same buy guide; need depends on risk assessment |
| Simple full cell (accessories + integration) | About $35k–$75k | Robotomated cost guide |
Read the table with one caveat: lean self-integrate pick-and-place can keep cash outlay low, but the moment acceptance language says “turnkey,” accessory and integration rows climb back toward the full-cell band. Writing which accessories are included, excluded, or capped as TBD is more useful than arguing percentages.
Bands alone do not place the PO. The next move is to separate money that blocks a signature in phase one from money that can honestly wait for phase two without redesigning the cell. Nail the must-have layer first, then options and buy-later—reverse that order and procurement tends to pay change-order prices in demo week.
Must-have layer: without these, phase-one acceptance is rarely honest
These three blocks show up in almost every first cell that can actually be signed off. Missing any one of them may still allow a demo; it usually blocks production acceptance.
1. End-of-arm tooling (EOAT)
The first decision past the flange is what the “hand” is. Flat sealed faces often start with vacuum; rigid odd shapes more often want parallel jaws; high-mix shapes justify adaptive or soft grippers; welding, screwdriving, and finishing are process tools, not generic “grippers.” Public accessory explainers—Standard Bots’ accessories roundup, Blue Sky’s essentials—put EOAT first for a simple reason: without a workable contact method, the arm only waves. Do not stop at catalog art; go deeper in the End-effector guide, and browse product entries under Grippers.
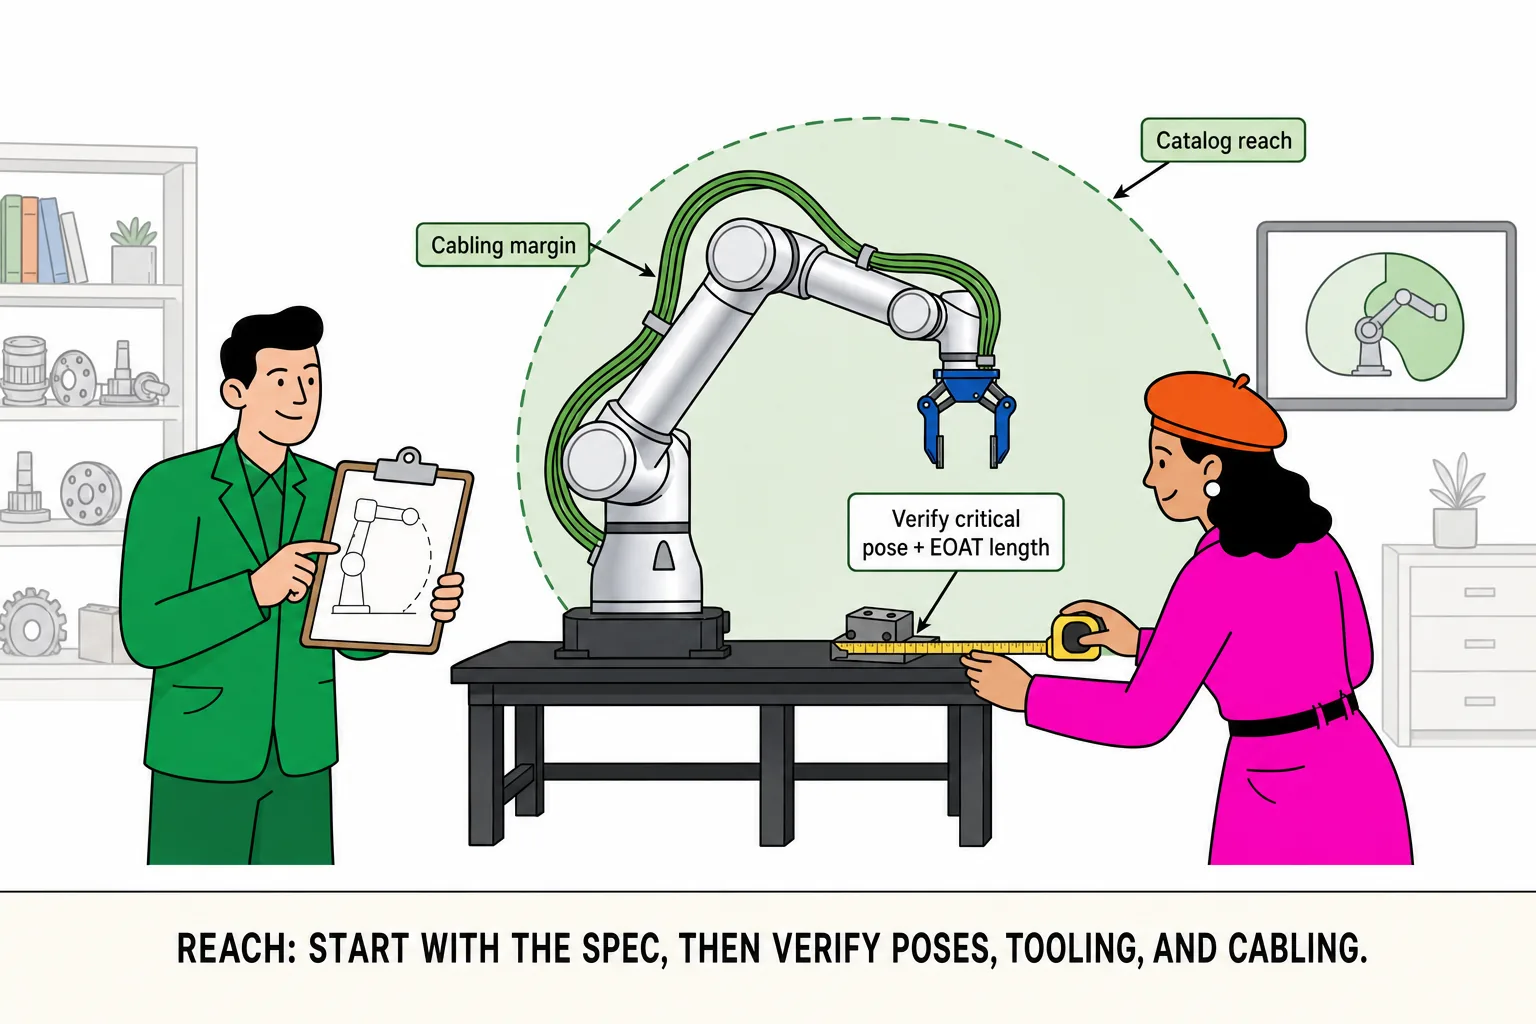
One ledger people skip: gripper body, cup frame, adapter plate, valves, and harness all enter TCP mass. If heaviest part plus tool sits at or over rated payload, protective stops appear in week one of production—not in the empty-air demo. Math: Payload guide.
2. Mounting and base
The arm has to live on something that does not sway inside the beat: bench, pedestal, floor plate, machine-side bracket, or a mobile base that locks while running. Public posts list mobile bases, overhead mounts, and rigid tables side by side (Blue Sky), but for a first pilot the sharper question is usually not “should we ceiling-mount?” It is whether the farthest pick/place still sits inside a rated pose, and whether people and carts block the short path. Layout: Workcell layout guide. Footprint still fuzzy: true-scale AR.
3. Control, power, and baseline I/O
Base-integrated control and an external cabinet are different wiring stories. Cabinets often decide fieldbus options, power margin, and floor footprint; if phase one has no list for e-stop, permit-enter, and clamp confirm, do not write “unmanned” into the PO. Cabinet entry point: Control cabinets. Signal and safety scope: Safety & I/O guide (collaborative cells often reference ISO 10218 / ISO/TS 15066).
Once EOAT, base, and control are on the PO, review meetings usually ask the next sentence out loud: “Do we also buy vision, a changer, and scanners now?” That is where the common-options layer belongs. Useful does not mean default phase-one buy.
Common options: useful, but not default phase-one buys
Vision, tool changers, extra safety devices, cable tracks, and covers become mandatory on some projects. The mistake is treating them as “standard configuration” before the task is frozen.
Vision earns its keep when stops are loose, soft packs collapse, or parts arrive in a chaotic pile—when fixtures cannot kill location error. Published adders often run about $3k–$20k, and tune time grows with them. If a conveyor hard stop already lands in the mm-to-low-cm band, phase one usually wins by making the nest honest before buying a camera. Pick-place split: Pick-and-place guide.
Tool changers earn their keep when one arm must swap tools or SKUs inside a shift and finance can see changeover minutes. If phase one is one gripper and one part family, write the changer explicitly as phase two.
Extra safety devices (area scanners, light curtains, local fencing) follow the risk assessment—not the word “collaborative.” High speed, heavy TCP, sharp tooling, or customer rules may still require isolation or speed monitoring. That discussion belongs in the Safety & I/O guide; an accessories list is not a substitute for assessment.
Cable dress and protection turn from cosmetics into uptime on CNC chips/coolant, tall pallet strokes, or busy pneumatic looms at the flange. A clean day-shift empty-air run is not a week of chip wrap or bend cycles.
After common options, one more bucket still inflates brochure carts without usually blocking phase-one acceptance—items you are not refusing forever, only parking honestly in phase two until takt and utilization are measured.
Buy later: fine to add in phase two
These show up in brochures and still do not have to sit on the first PO: a mobile base when the pilot station is fixed, a second process tool, analytics packs, decorative lighting, or a heavier gripper bought “in case.” The cadence matches the first cobot for small manufacturers guide: one station → prove it → scale later—use measured takt and utilization before the second accessories wave.
Layers alone are still abstract until they hit a process. The same arm becomes a different cart under pick-and-place, CNC, or palletizing; talk “accessories” without naming the application and the meeting drifts back toward buying the top-ten list.
Checklist by application (must-have vs later)
The same arm becomes a different shopping cart under different processes. The table below is intentionally coarse so a review meeting can tick boxes live; details still live in the application guides.
| Application | More often must-have in phase one | Often later / situational |
|---|---|---|
| Pick-and-place | Part-matched gripper or vacuum; fixed nest or hard stop; baseline mount and I/O | Vision when stops are already tight; tool changer on a single SKU |
| CNC tending | Gripper (single vs dual); door interlock signals; near-door dress and whether blow-off is in takt | Vision picking; multi-machine rail; full lights-out magazine growth |
| End-of-line palletizing | Vacuum or clamp tool (mass deducted); pattern/path means; pallet in/out plan | Pallet dispenser automation; complex vision conditioning |
| Screwdriving / dispense | The process tool itself; force/stroke or bead feedback | Second tool, complex vision align |
Pick-place detail: Pick-and-place guide. CNC: CNC tending. Palletizing: Palletizing guide. Fixture and presentation product entry: Fixtures.
After the ticks, you still need one page that can walk into a capex meeting—not another “top 10 accessories” poster, but four pass/fail boxes. Whatever is empty should be named in the inquiry email, not discovered after delivery.
A printable first-cell accessories scorecard
Before inquiry or PO, run these four boxes. An empty cell is usually the line missing from the first quote and the change order after delivery.
| Box | Pass rule |
|---|---|
| Task and infeed | Part weight, shape, and stop tolerance written—not “we will see on site” |
| EOAT + payload | Tool path chosen; heaviest part + tool still inside rated after weighing |
| Mount and control | Base scheme and cabinet/integrated control decided; e-stop and baseline I/O listed |
| Phase-one boundary | Vision / changer / extra safety marked included, excluded, or TBD-capped |
To send a complete inquiry once, use the RFQ checklist. If the arm shortlist is still open, narrow with Product Advisor or Comparison before building the past-the-flange cart—order matters.
The scorecard answers “what does our first cell still need.” Public search also surfaces another genre—“top 10 accessories” posts. Those pages are not wrong; they answer a different question. Naming the difference keeps procurement from treating both as the same shopping cart.
How this differs from “top 10 accessories” posts
Standard Bots and UR’s components piece map the ecosystem well and are good for expanding imagination. They push less hard on what not to buy in phase one. This page reverses the order: acceptance boundary first, shopping cart second. If you already know you only need gripper-model comparison, the end-effector guide and grippers page are faster; if you are still asking how many SKUs of hardware the first cell needs, fill the scorecard first.
With that difference named, it helps to list the failure modes that show up on the floor—not to scare the room, but so the review asks one more question before signature: “Are we about to make the same mistake?”
Accessory decisions that fail on the floor
Failures are rarely “we forgot a trendy accessory.” They are verbal scope drift: arm PO signed with gripper TBD; vision bought for the brochure while stop tolerance never entered the contract; a tool changer purchased for one part family with near-zero changeover gain; tool mass ignored until far-corner protective stops in production. Another failure mode is treating safety devices as a collaborative gift basket—skipping the risk assessment while stacking sensors.
Knowing the failure modes is not enough if pilot acceptance only watches empty-air paths. Wrong accessories can still “look fine” until worst-part loops start. Acceptance has to prove contact method, base, and signals—not only the arm.
How to prove accessories—not only the arm—in the pilot
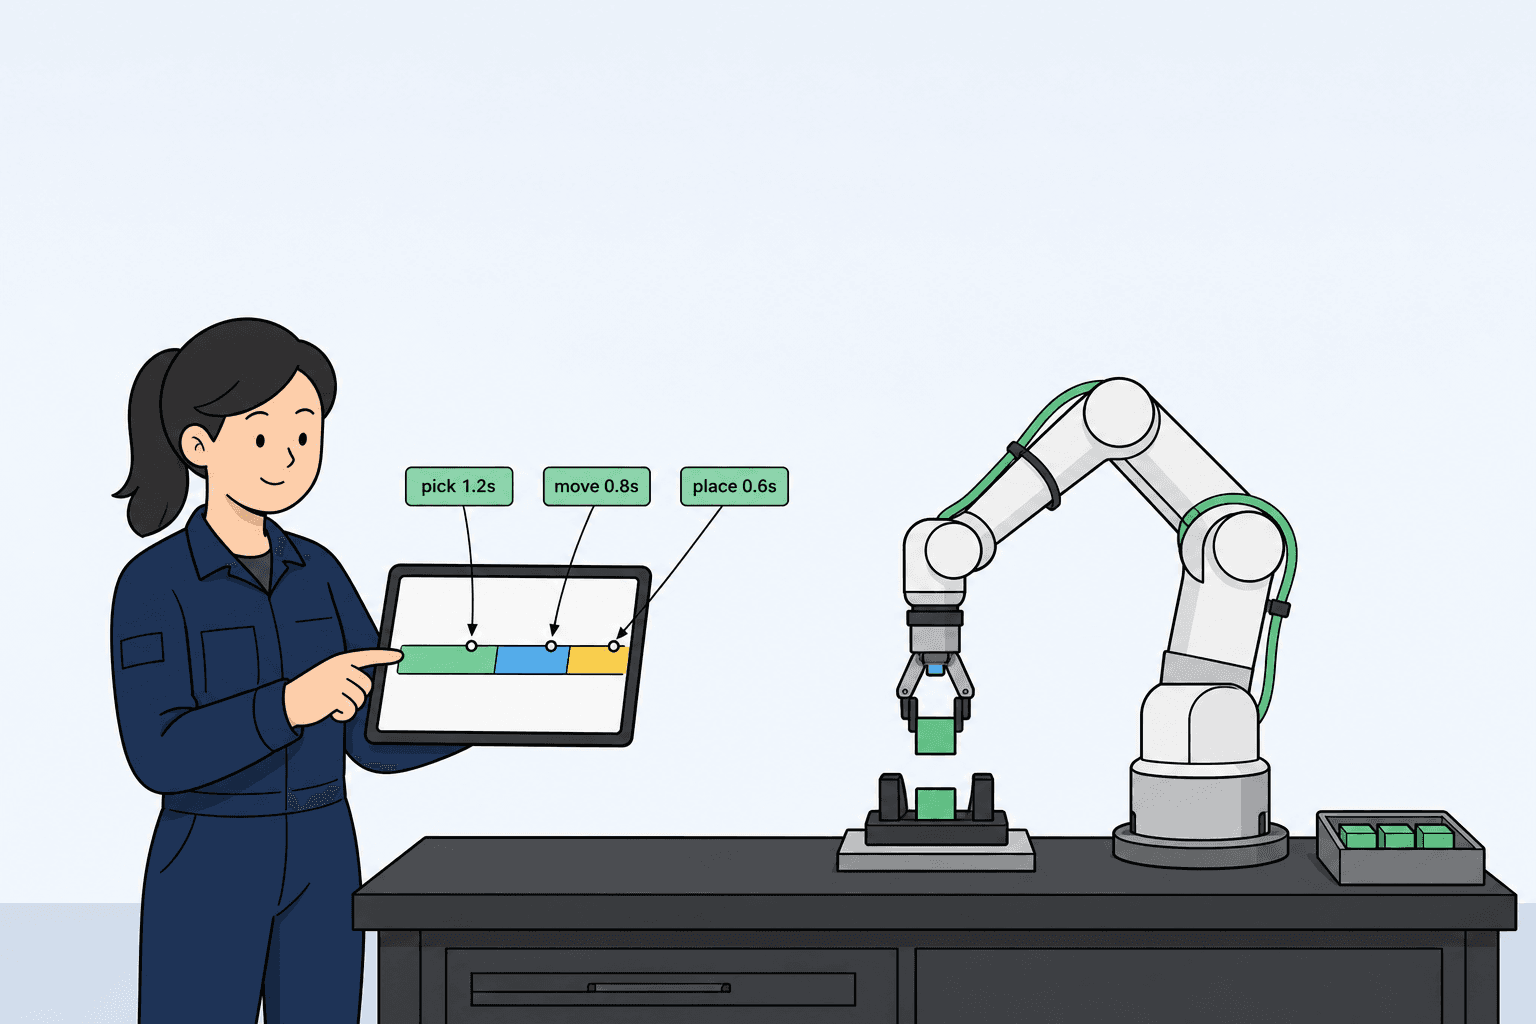
Do not accept on empty-air paths alone. Run worst-part loops, put open/close or vacuum build/vent into the beat sheet, confirm the base does not sway in takt, and rehearse drop, protective stop, and who resets after e-stop. How to structure that day: Demo day guide. After PO, milestones can sit in RooollTrack; spares and response tiers in Care.
These are the questions that keep coming back in inquiry and capex meetings; answers stay short—detail lives in the sections above.